Today, on Redhead Mom, we’re sharing a partnered guest post about Digitizing 3D Embroidery.
Are you ready to try your hand at digital 3D embroidery? How does digital 3D embroidery actually look like?
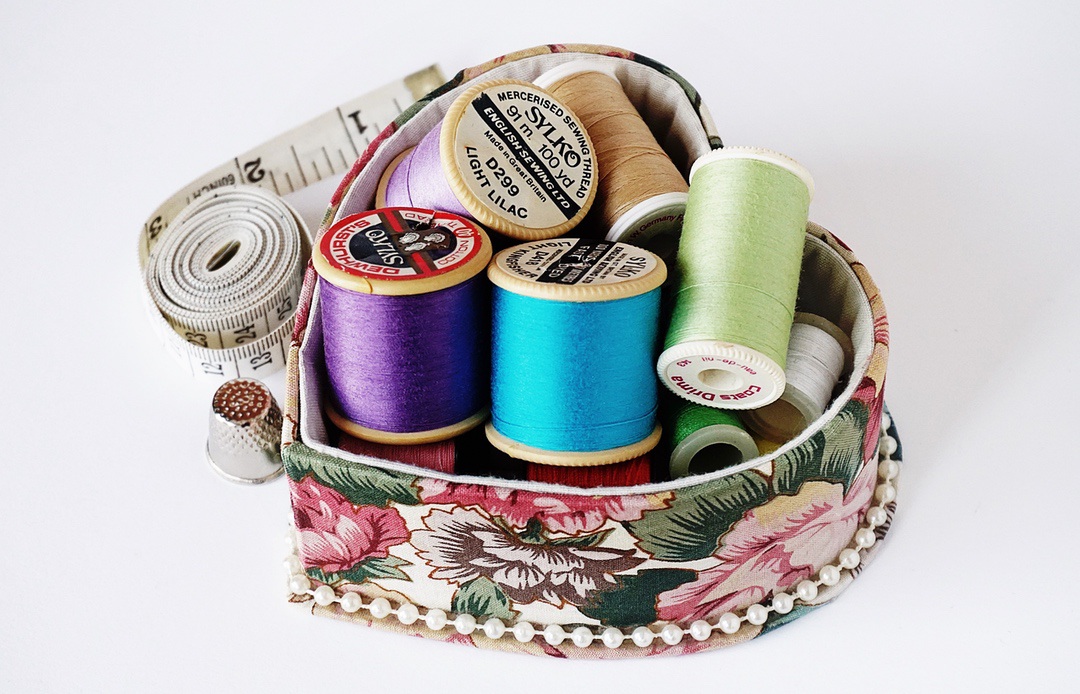
3D embroidery is basically a type of embroidery in where the lettering or the figure itself stands out from the rest. You can often see this in caps and shirts. It’s called 3D mainly because of the design that looks like a 3D image because of its puffed look.
How does 2D and 3D embroidery differ?
Both these are embroidery styles but they differ hugely based on their appearance.
While 2D is flat and looks like the thread is drawn on the fabric, 3D stands out and creates that 3-dimensional look. 2D embroidered designs are fed to a computer where the design is embroidered directly to the fabric. 3D embroidery is much harder to do because it requires skills and digitization first.
Digital 3D embroidery isn’t the same from the standard or 2D digital embroidery. Most designs from 3D embroidery dramatically stand out from the other designs. When buying digital 3D designed items, you’ll also see the price difference between an item with standard digital embroidery and one that’s 3D.
Learning 3D embroidery digitizing is just easy, all you need is a bit of practice. Here are some guidelines to help you out.
1 – Make sure you’ve got the proper 3D foam: Not all foam is equal, and to make cutting and shaping easier, you’ll want to get the proper 3D foam that is meant specifically when digitizing 3D embroidery.
2 – Give yourself a little extra room: The whole point and process of creating the ridges are that it is going to push through the foam to get the raised look. Since the stitches are tight and done forcefully, it’s natural for even the true 3D foam — as good as it is — to lose edges where the needle goes through. Make sure that you leave a little excess on both sides of the foam so that you can get the full and dramatic effect that you’re going for. As you get used to your machine, you’ll know how much to allot extra.
3 – Remember to use a satin stitch: While simple, a lot of people forget this at first. Make sure yo use a satin stitch so that it gives the full raised effect on the custom embroidery designs that you’re hoping to create. For best results, make sure to go somewhere between 3 mm and 9 mm.
4 – Add a finishing touch. Since it uses foam, 3D embroidery is also really effective in that it’s a solid finishing touch to your piece of art, whatever it may be. Since it has to be last, you’ll enjoy the fact that it properly borders your other embroidery and it gives that satisfying final effect as the 3D ridges that you’ve been looking to create. Whether it’s for letters or a finishing little touch on a photo for that 3D look it’s pretty impressive even to those who know nothing about embroidery or its creation. So imagine how good it’ll look to your trained eye?
[wl_faceted_search]