
Today, on Redhead Mom, I’m sharing a partnered guest post about acrylic home decor.
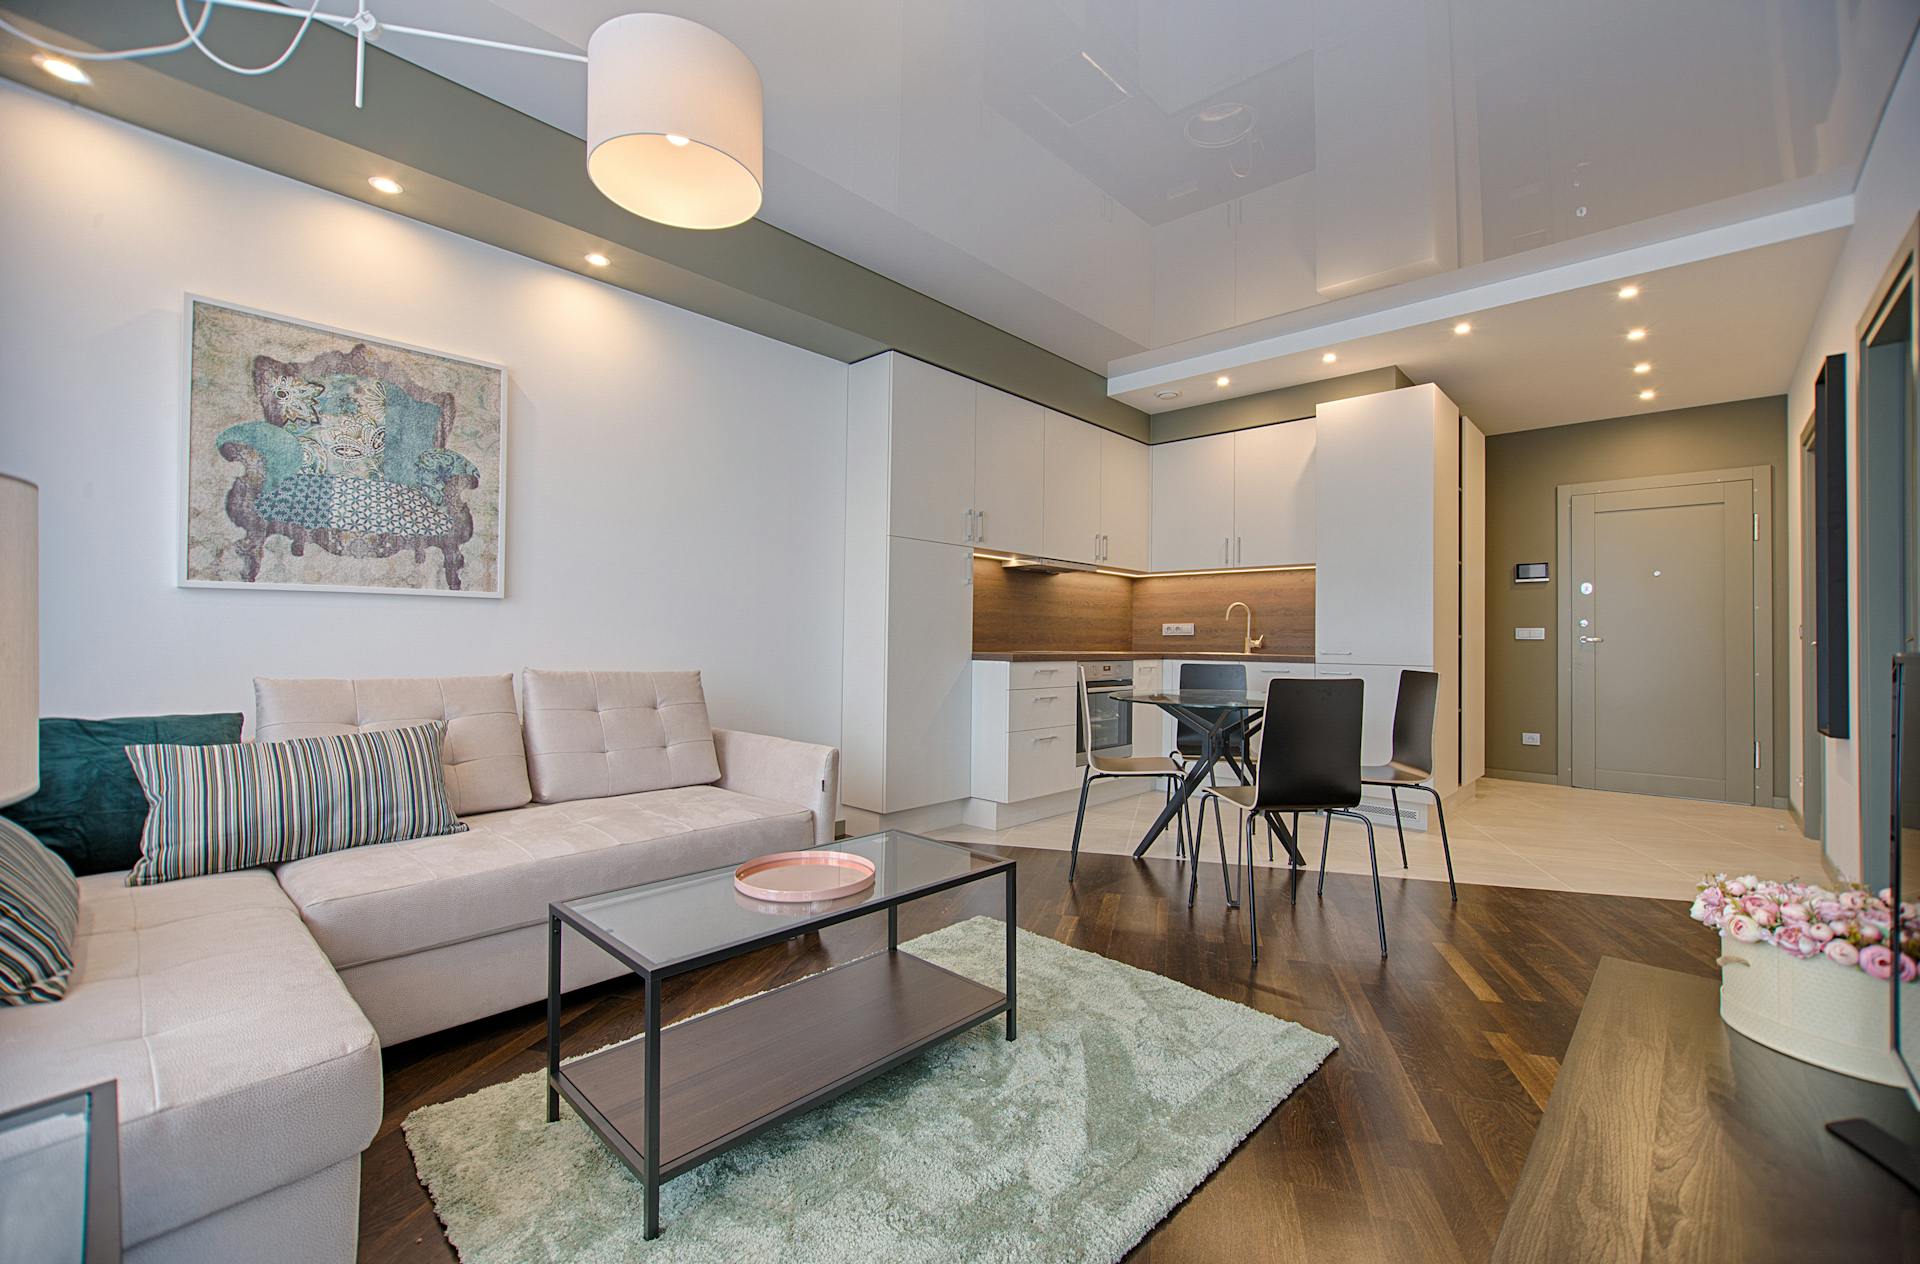
Let’s talk about the zen of DIY home decor. You know that feeling when you’re in the zone, completely absorbed in a project? That’s where the magic happens. And today, we’re diving into the world of laser-cut acrylic sheets for some seriously cool home decor projects.
Now, I’ll be honest. When I first heard about using acrylic sheets for home decor, I was skeptical. Isn’t that stuff for office cubicles and sneeze guards? But boy, was I wrong. These versatile sheets are a DIY enthusiast’s dream, and I’m here to show you why.
Before we jump in, let me share a little secret about how I approach these projects. I’ve found that creating the right environment is key to getting into that creative flow state. For me, it’s all about setting the scene.
I clear out my garage, throw open the doors to let in some fresh air, and crank up my favorite playlist (heavy on the 80s rock, don’t judge). I’ve got my trusty laser cutter set up, a stack of pristine acrylic sheets from COHn Acrylics at the ready, and a cold brew coffee within arm’s reach. It’s my DIY sanctuary, and it’s where the magic happens.
Alright, let’s dive into three projects that’ll transform your space and impress your friends. We’re talking wall art, coasters, and a decorative tray that’ll make you look like a pro.
Project 1: Acrylic Wall Art
First up, we’re creating a piece of wall art that’ll make your living room look like a modern art gallery. The beauty of using acrylic sheets for this is the depth and dimension you can achieve. It’s like your art is floating on the wall.
Here’s what you need:
- 1/4 inch thick clear acrylic sheet
- Your design (keep it simple for your first go)
- Laser cutter
- Acrylic-safe adhesive
- Mounting hardware
Step 1: Design
Start with a simple geometric design. Think abstract shapes or a minimalist cityscape. Remember, we’re going for a “wow” factor, not a headache.
Step 2: Cut
Fire up that laser cutter and let it work its magic. The precision you get with laser-cut acrylic is unreal. It’s like watching a hot knife slice through butter, except way cooler.
Step 3: Layer
Here’s where it gets fun. Cut multiple pieces and layer them for a 3D effect. Play with different colors or frosted and clear pieces for contrast.
Step 4: Mount
Use acrylic-safe adhesive to stick your layers together, then attach some mounting hardware to the back. Hang that bad boy up and watch your guests’ jaws drop.
Pro tip: Lighting is everything with acrylic art. Try mounting some LED strips behind it for a next-level glow effect.
Project 2: Acrylic Coasters
Next up, we’re making coasters that’ll make your coffee table look like it belongs in a swanky downtown loft.
You’ll need:
- 1/8 inch thick acrylic sheets (clear or colored)
- Non-slip backing material
- Adhesive
- Your favorite designs (think geometric patterns or custom monograms)
Step 1: Design
Keep it simple but stylish. Hexagons are always a winner, or go for a set of four with different city skylines.
Step 2: Cut
Laser cut those babies out. The clean edges you get with acrylic are unbeatable.
Step 3: Personalize
Here’s where you can get creative. Try etching designs onto the surface or adding a pop of color with acrylic paint.
Step 4: Finish
Stick on some non-slip backing to protect your furniture. Nobody likes a sliding coaster, am I right?
Pro tip: Make a set of six or eight. Trust me, people will fight over these at your next dinner party.
Project 3: Acrylic Decorative Tray
Last but not least, we’re making a tray that’s going to elevate your coffee table game to the next level.
Shopping list:
- 1/4 inch thick acrylic sheet for the base
- 1/8 inch thick acrylic for the sides
- Acrylic adhesive
- Decorative elements (think metallic paint or embedded objects)
Step 1: Design
Go for a simple rectangular shape, but don’t be afraid to add some flair with curved corners or a unique handle design.
Step 2: Cut
Laser cut your base and side pieces. Precision is key here for a perfect fit.
Step 3: Assemble
Use your acrylic adhesive to attach the sides to the base. Take your time here – a rushed job will show.
Step 4: Decorate
This is where you make it yours. Try adding a metallic gold bottom for a luxe look, or embed some dried flowers between two layers for a natural touch.
Pro tip: Make two – one for display and one for actually using. Trust me, you won’t want to put drinks on your masterpiece.
Working with Acrylic Sheets
Now, let’s talk about working with acrylic sheets. This stuff is fantastic, but it does require a bit of know-how.
First off, thickness matters. For wall art, go thicker (1/4 inch) for stability. Coasters can be thinner (1/8 inch) for a sleeker look. Always err on the side of thicker for larger pieces.
When it comes to cutting, let the laser do the work. Don’t rush it. A slow, precise cut will give you those crisp edges that make acrylic projects look professional.
Handling these sheets is like dealing with a temperamental artist. Treat them with respect. Use gloves to avoid fingerprints, and always lay them on a soft surface to prevent scratches.
For cleaning, a microfiber cloth is your best friend. Avoid paper towels – they can scratch. And please, for the love of all that is holy, don’t use Windex. Stick to soap and water or specialized acrylic cleaner.
Storage is key too. Keep your sheets vertical, like vinyl records. Laying them flat can lead to warping, and nobody wants a wonky wall art piece.
Now, I know what you’re thinking. “This sounds great, but I don’t have a laser cutter just lying around.” Fair point. But here’s the thing – you don’t need to drop thousands on equipment to get started. Many makerspaces and community colleges have laser cutters you can use for a small fee. It’s a great way to dip your toe in without committing to the full setup.
As you’re working on these projects, remember this: perfection is overrated. The beauty of DIY is in the little imperfections that make each piece unique. That slightly off-center etching? It’s not a mistake, it’s character.
And here’s a final piece of advice: document your process. Take photos, make notes. Not only is it satisfying to see your progress, but it’s also incredibly helpful when you inevitably want to make more (trust me, you will).
Conclusion
So there you have it. Three projects that’ll transform your space and give you some serious DIY cred. Remember, the key to success here is patience, precision, and a willingness to experiment. Don’t be afraid to make mistakes – that’s how we learn and grow.
Now, go forth and create. Turn that acrylic into art. And when your friends ask where you got that amazing wall piece or those sleek coasters, you can casually say, “Oh, I made those.” Trust me, the look on their faces will be worth every minute you spent in your DIY sanctuary.
As always, hit me up if you have any questions. I personally check all my emails and love hearing about your projects. And hey, if you come up with a cool twist on one of these ideas, let me know. I’m always looking for new inspiration.
Until next time, keep creating, keep innovating, and most importantly, keep having fun. Because at the end of the day, that’s what this DIY journey is all about.