This shop has been compensated by Collective Bias, Inc. and its advertiser.
All opinions are mine alone. #MNYLooksToLove #CollectiveBias

I love makeup! Growing up, one of the first brands I used was Maybelline and I still love it to this day. I recently discovered the art of contouring and love it! With super fair skin, contouring definitely helps add a romantic glow to my overall look. I was a little hesitant to try contouring at first, but after doing it, I recommend it for all the ladies out there!! Maybelline makes it both affordable and easy to create a romantic look.

If you’re looking to create a romantic makeup look, you’ll want to head to Walmart and pick up the Maybelline Contour Palette, Dream Velvet Foundation and Dream Blender. I found them located on a tower end cap in the makeup section of the store. You’ll want to head there fast though because these items seem to be going fast!

How to Create a Romantic Makeup Look for Valentine’s Day
1 – Start with clean, moisturized and primed skin. Be sure to wash your face, use a moisturizer and follow up with a foundation primer before applying makeup. You want a clean surface to work with for your romantic makeup look.
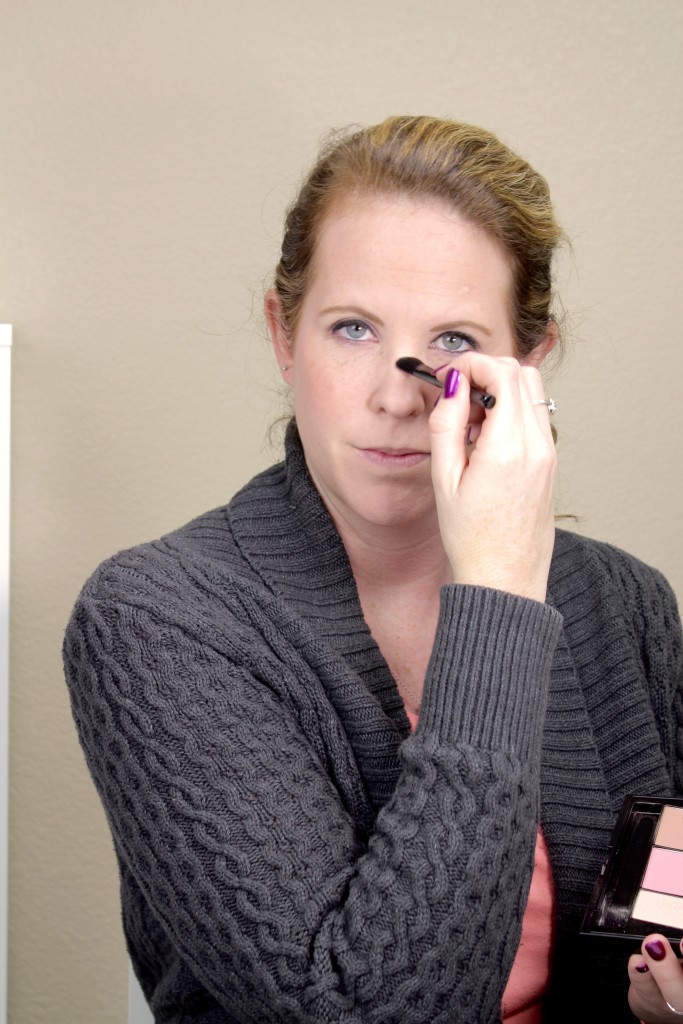
2 – Apply eye makeup. Sometimes I like to do my eye makeup first in case any of the shadows fall onto my face. I used eyebrow pencil, eye shadow, eyebrow highlighter, eye liner and mascara to complete my eye makeup look.
3 – Use the Maybelline Dream Velvet Blender. This was my first time using the Dream Velvet Blender and I really liked it! This makeup blending sponge delivers even foundation coverage and a smooth finish. It’s ideal for gliding over large areas and targeting hard-to-reach curves. This is definitely a must-have tool for flawless makeup application! You’re sure to love this latex-free and re-usable beauty blending sponge, which has a built-in handle for effortless and mess-free application.
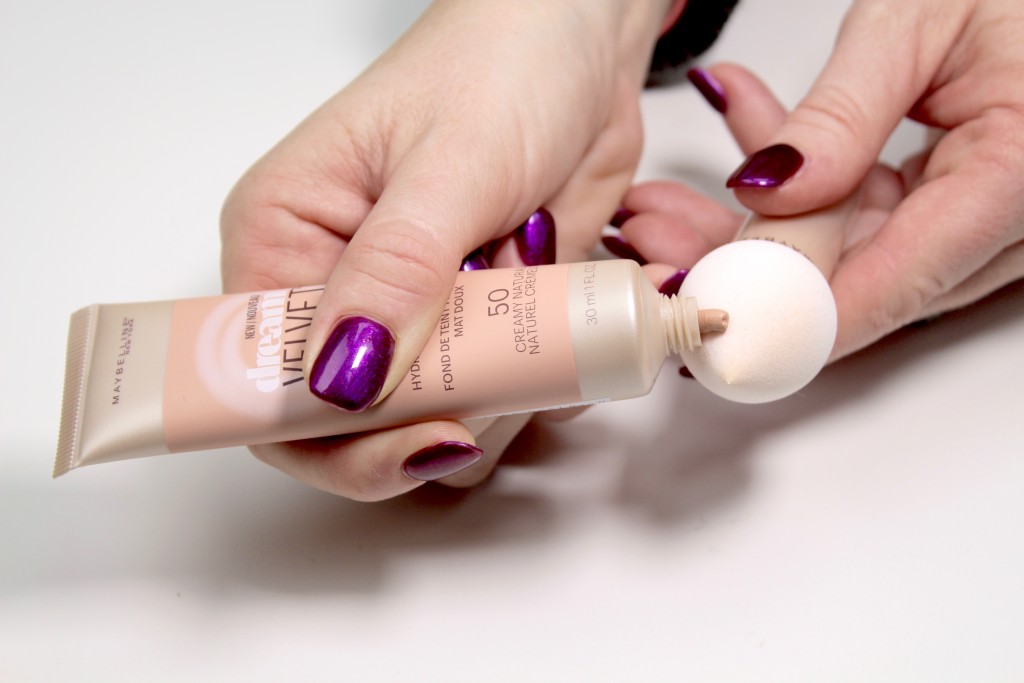
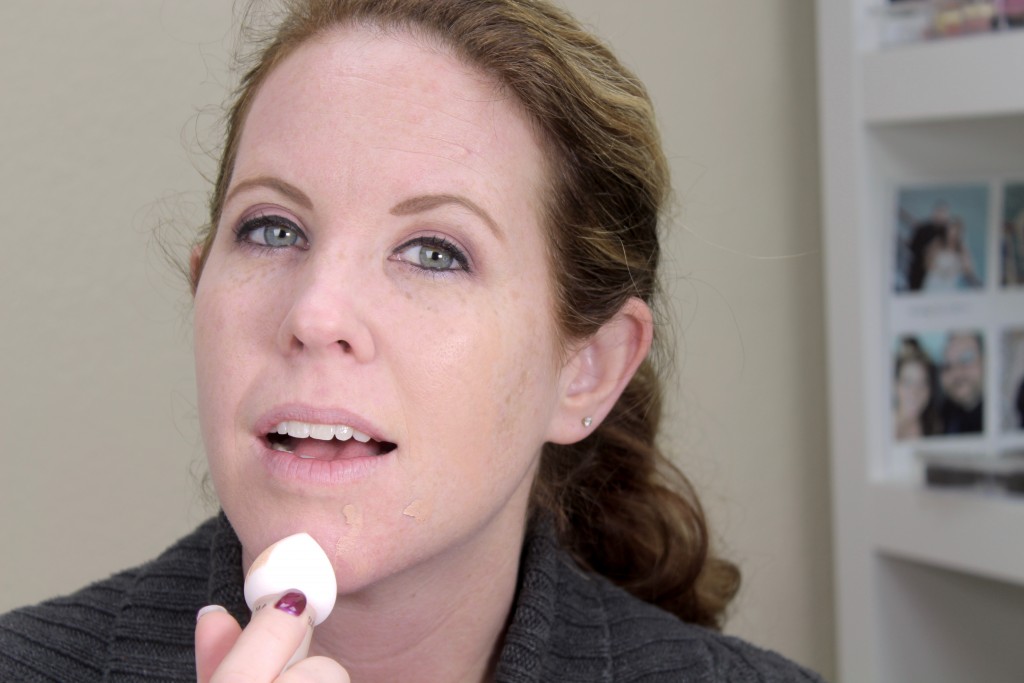
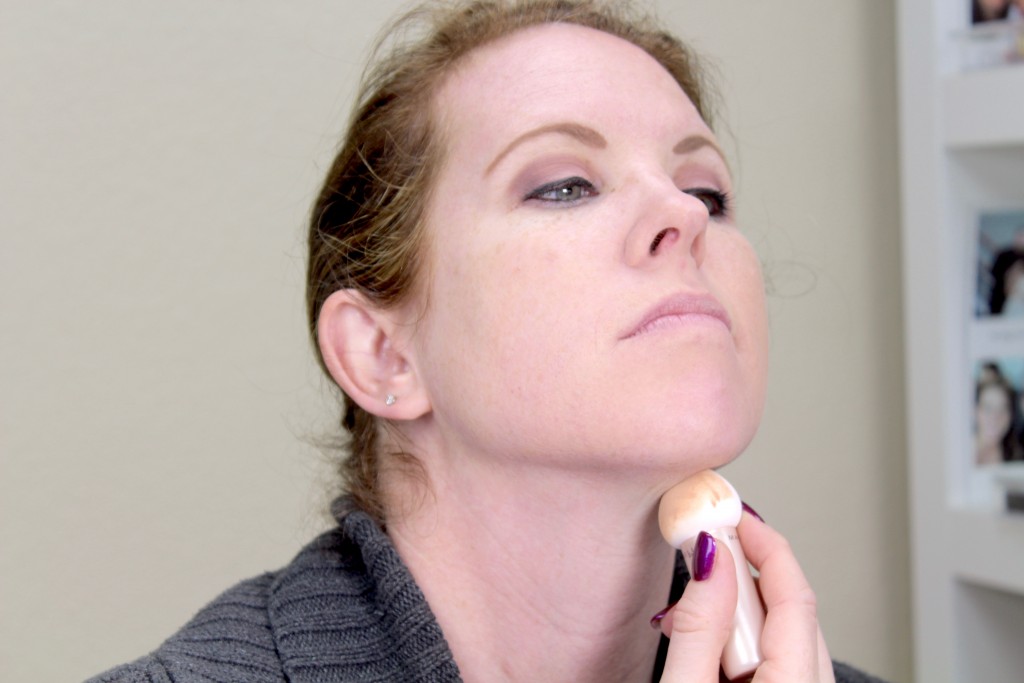
4 – Use the Maybelline Dream Velvet Foundation. You’ll want to apply the Dream Velvet Foundation onto the Dream Velvet Blender for a flawless look. I chose to get the foundation in the color Creamy Natural. This is Maybelline’s first hydrating matte foundation, perfect for 100% velvet-smooth perfection. This unique gel-whipped formula is ideal for normal to combination skin with medium coverage. This refreshing gel-whipped foundation leaves your complexion perfected and smooth with a velvety, soft-matte finish while skin stays hydrated for 12 hours. I love that my skin didn’t feel dry at all using it! When applying the foundation, be sure to blend all areas where you applied the foundation and follow up with sweeping along the neck line (under the chin), so you don’t get any possible lines.
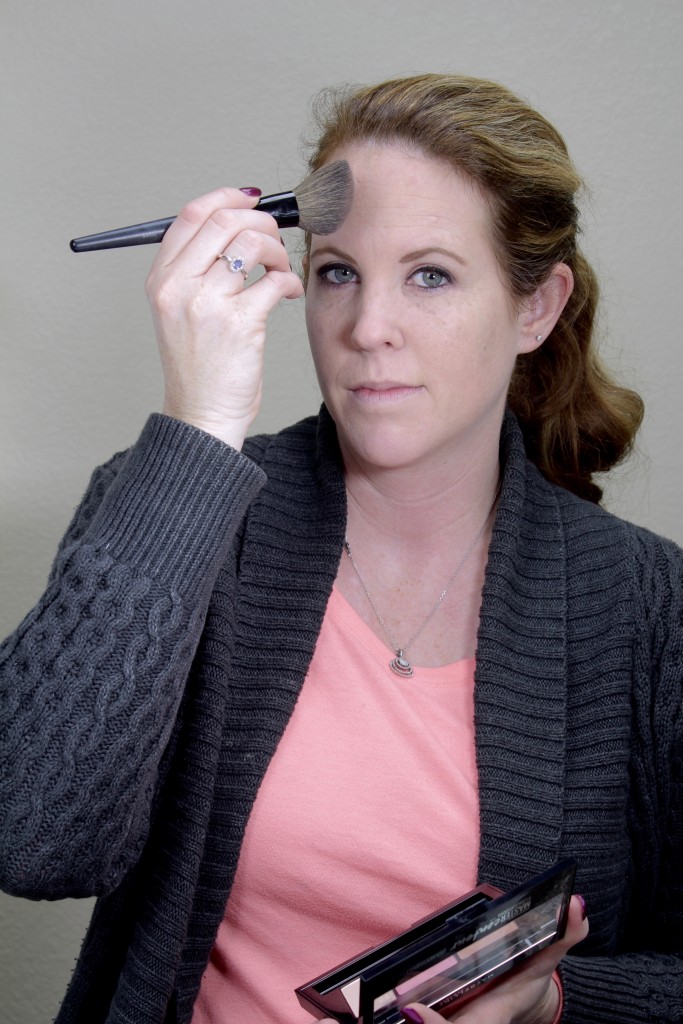
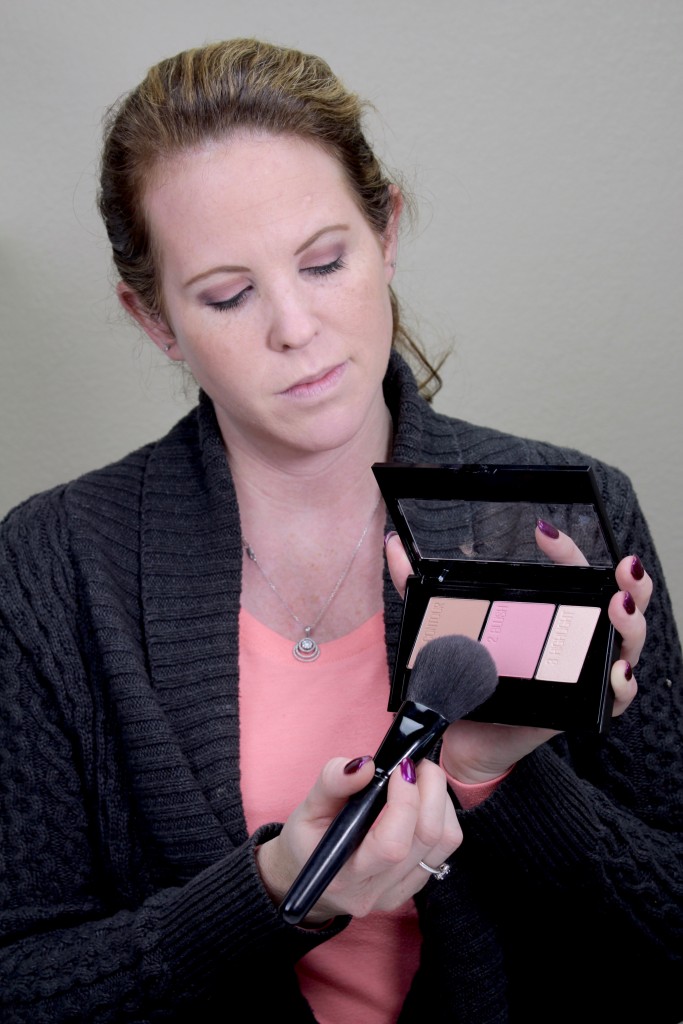
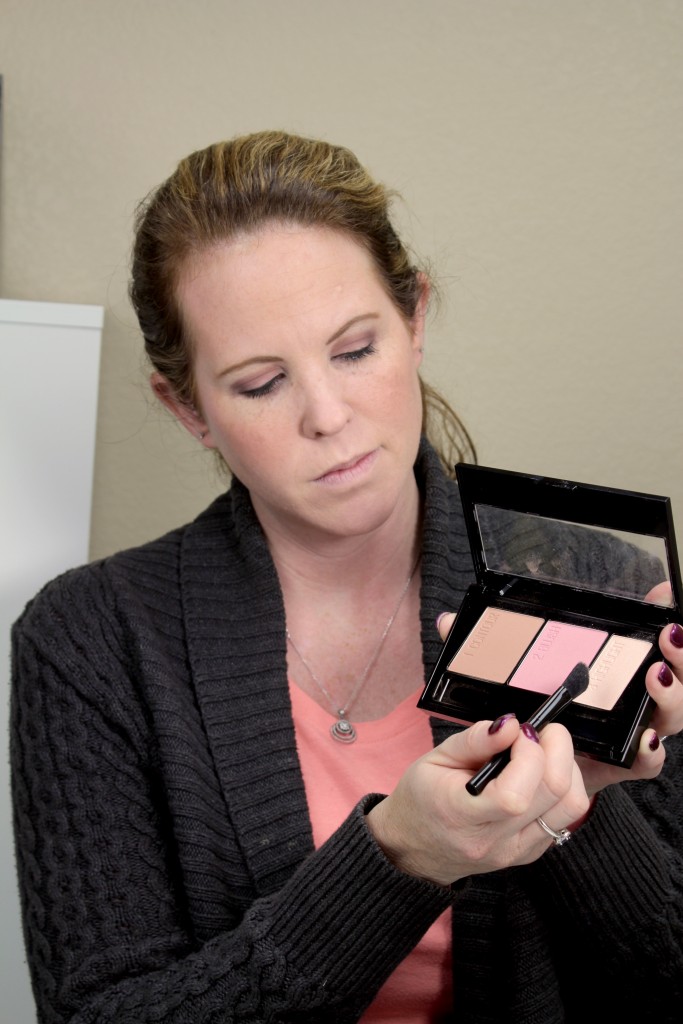
5 – Use the Maybelline Contour Palette. Master face contouring on the go with this all-in-one palette, including a contouring brush. Define and highlight in a New York minute with the effortless 3-step face contouring kit. This pro palette has three color shades, featuring a bronzer, blush and highlighter. When contouring your face, you’ll want to start with the bronzer. I used a bigger brush for both the bronzer and blush, but used the brush in the kit with the highlighter.
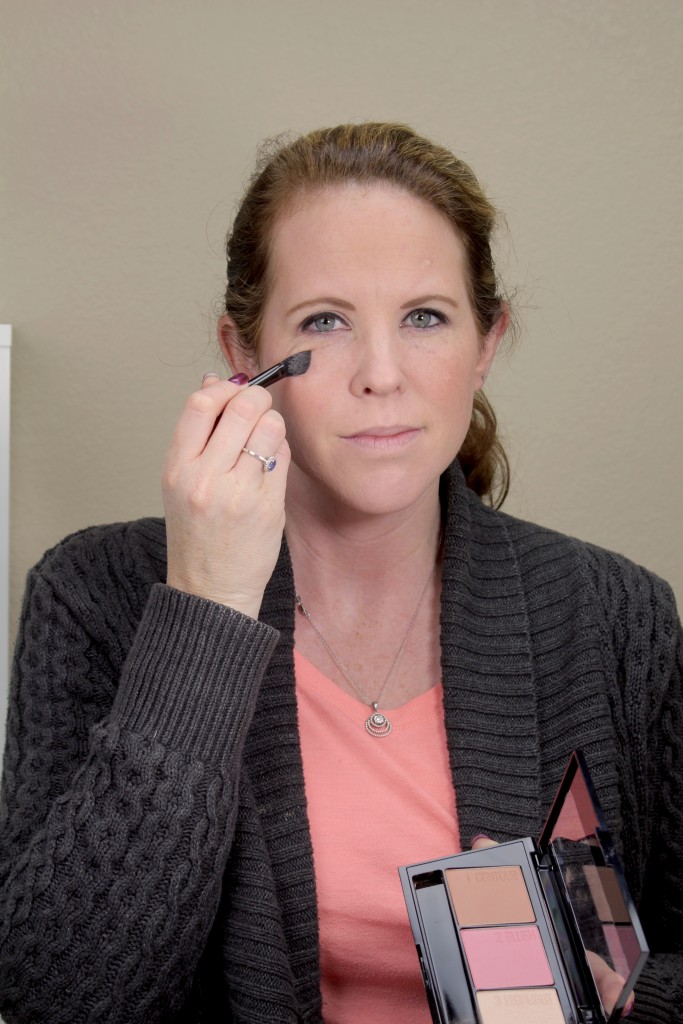
When applying the bronzer, you want to make a 3-shaped sweeping motion. Start with the middle of your forehead and move out to your hairline. Come back in across your cheekbone and towards your nose, followed by a sweeping motion down the line of your chin.

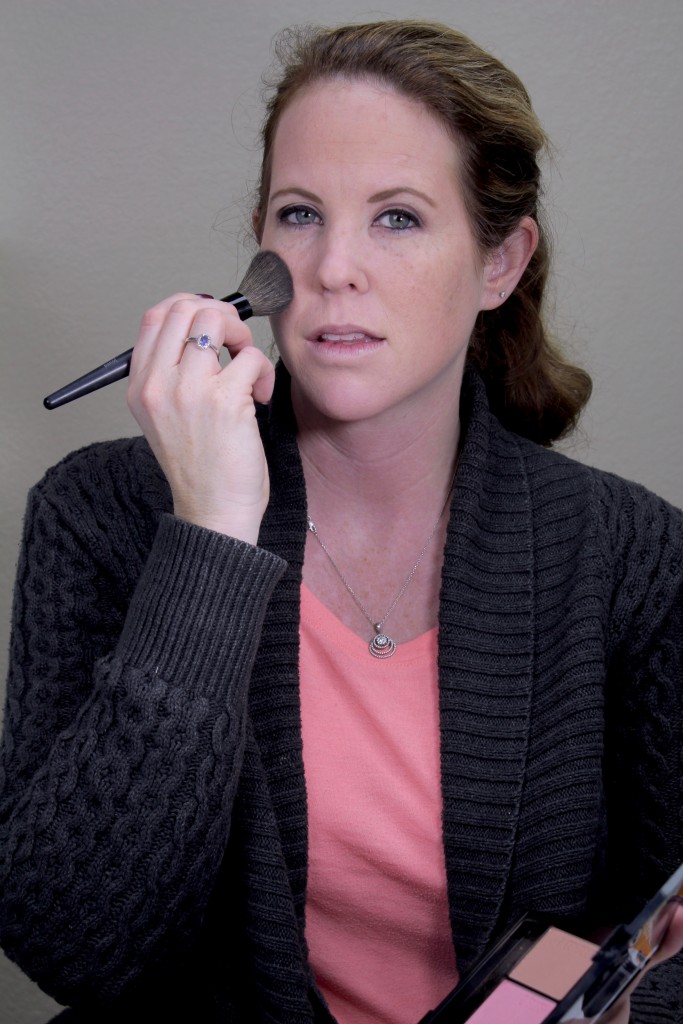

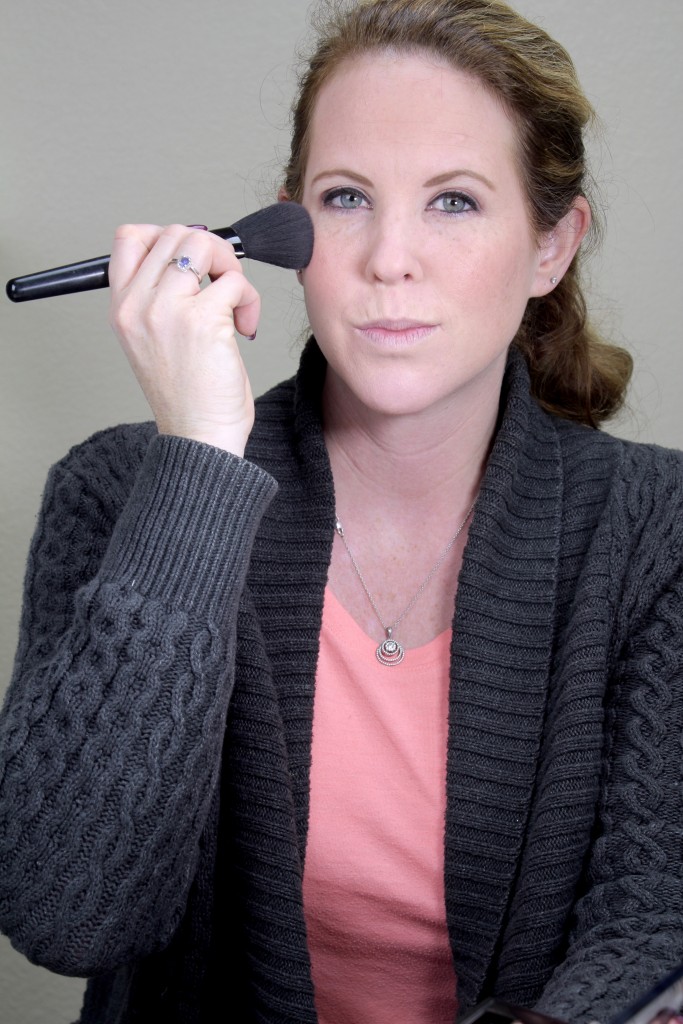
Next, apply the blush. Sweep up from the apples of your cheeks (smile and you’ll see these). Blend up and outwards towards your temples until there are no hard lines left.

The final step is to apply the highlighter. Using the included brush, apply above the blush on your cheeks, on your forehead, down your nose, in between your nose and lips and on your chin. This adds an extra glow to your overall makeup look.
6 – Apply lip primer, lip liner and lipstick. To finish up the look, apply a lip primer, lip liner and lipstick. I went for more of a pinkish color, perfect for a romantic makeup look for Valentine’s Day.
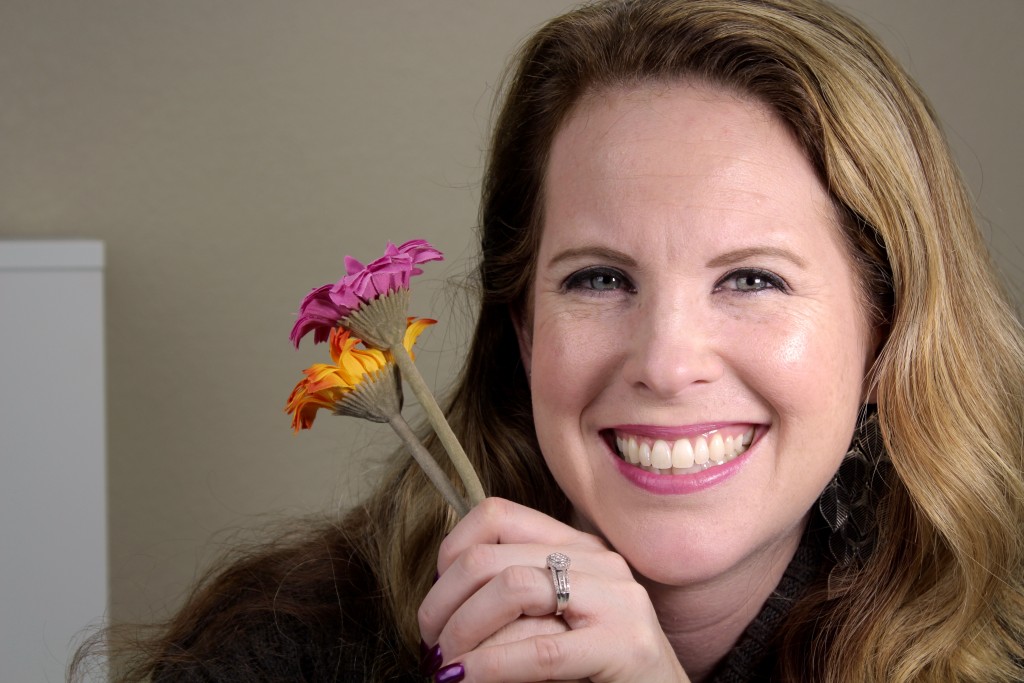
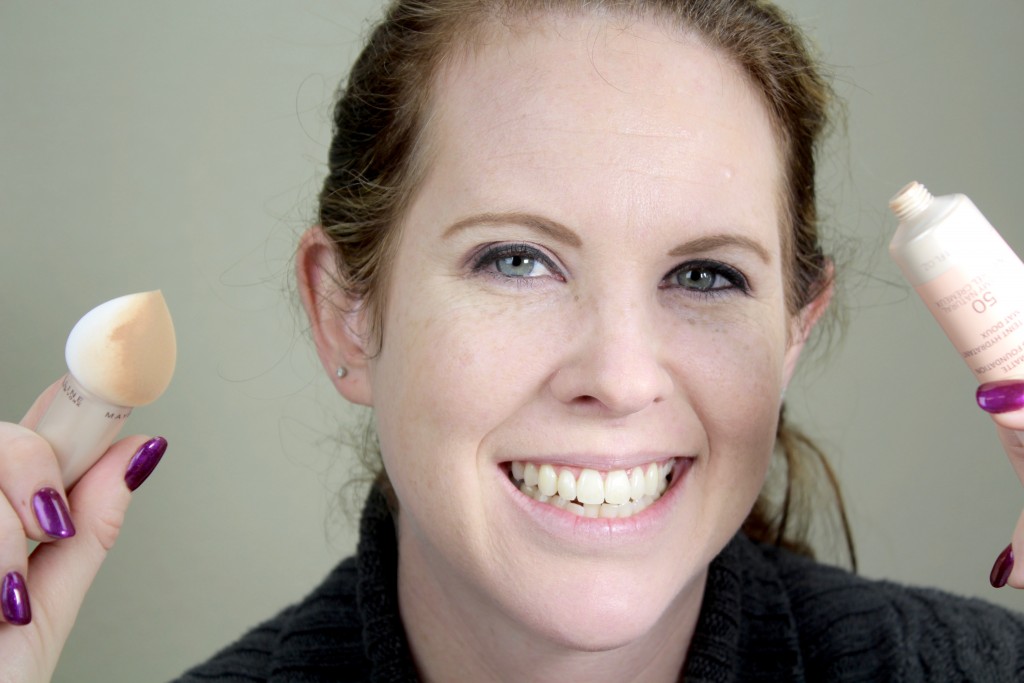
Get ready for Valentine’s Day with this easy romantic makeup look! Whether you’re touching up your day makeup or looking for a quick makeup look, you’ll find that with the Maybelline Contour Palette, Dream Velvet Foundation and Dream Blender.
How do you create a romantic makeup look for Valentine’s Day? Have you tried the Maybelline Contour Palette, Dream Velvet Foundation and Dream Blender?
I struggle with my make up whether it’s the natural look or the glam look, even if the products are great, I guess I just need to sit down and practice.
GORGEOUS, darling, gorgeous! 🙂 [client]
I am terrible with makeup! I wear very rarely because I look like a clown put my makeup! This will help a lot for me anyway, not just valentines day!
Your makeup look awesome, lady! You are gonna be one hawt date on Valentine’s Day!
I would just go with a natural look with some glitters on the eye area to look presentable. I think wearing a smudge-proof lipstick is important! 🙂
Love the tips and step by step instructions. Your makeup looks amazing and I love your nail color too.
As a person who doesn’t wear makeup often, its always great to find good tips and tutorials on how to do it correctly! Thank you for sharing this with us non-makeup-ers! 🙂 ~ MS for KM
That’s a great look! I love it because it’s the perfect combination of cute with a little sass.
This is a great soft, romantic look for Valentine’s Day! Great job!
Such a soft, natural look, too! To me, that’s the secret to successful makeup application … beautiful, yet natural. And you achieved that for sure!
These guides and tips look useful. I am hoping to have this kind of romantic look every day.
I love your soft, finished look! I’d like to try that Dream Velvet Foundation. I love your nail polish color too!
You look great. I have to get some of the products. Thanks for sharing.
You look fantastic. I love this look. I will have to play with my makeup and see if i can get mine like that.
I admit, I suck at putting on make up. I wear just the basics when I do wear makeup. If I try to do fun things with eye shadow , I feel like a clown. I have never really sat down and experimented.
Oh wow that makeup looks gorgeous on you. I’d really like to try the Maybelline blender. I’ll have to pick some up and see how well I like it.
Your eyes are gorgeous! I dunno how to put make up on so this helps me a bit.
Pingback: How to Create a 10-Minute Valentine's Day Look