
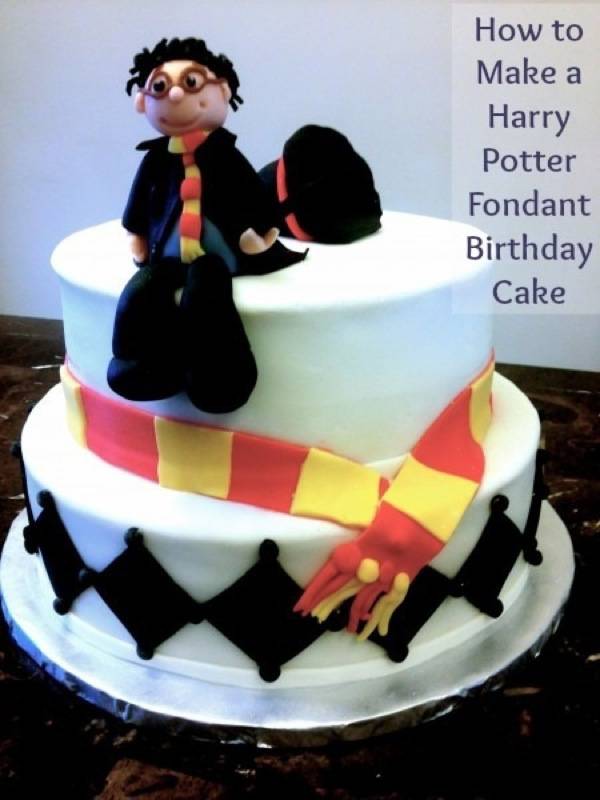
Over the past few years, I have loved being a Wilton Mom. As a Wilton Mom, I have had the opportunity to learn how to make beautiful cakes on my own and have been introduced to new materials and tools used in cake decorating. Most recently, I was introduced to the art of creating a fondant birthday cake. Keep in mind, I have held fondant in my hands before and tasted it, but never actually used it on a cake before. Thanks to my boyfriend’s mom, I had some guidance in creating an awesome Harry Potter Fondant Birthday Cake!

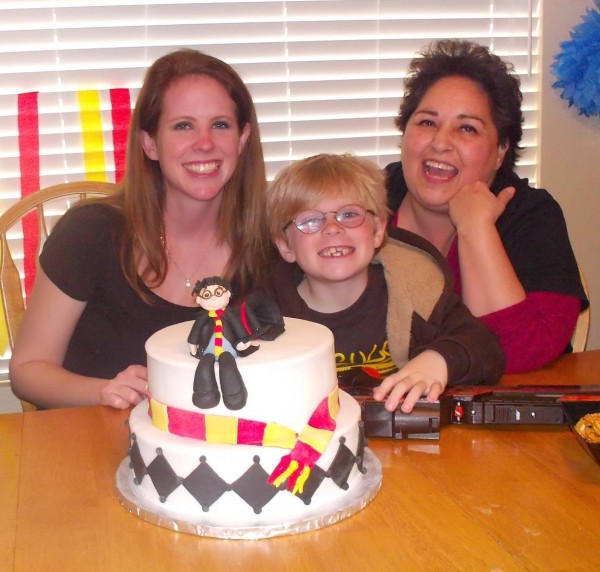
The cake was made for Dallen’s 7th birthday and his choice this year was Harry Potter. I searched on Google and Pinterest for ideas on Harry Potter Cakes and actually combined the ideas from two separate cakes to make this fun and simple Harry Potter Fondant Birthday Cake. Dallen was so excited when he saw it and I was one very proud and happy mama!!!
Making the cake did take some time and a LOT of cake mix and patience, but it turned out beautifully! Here are the steps on how you can create your own Harry Potter Fondant Birthday Cake.
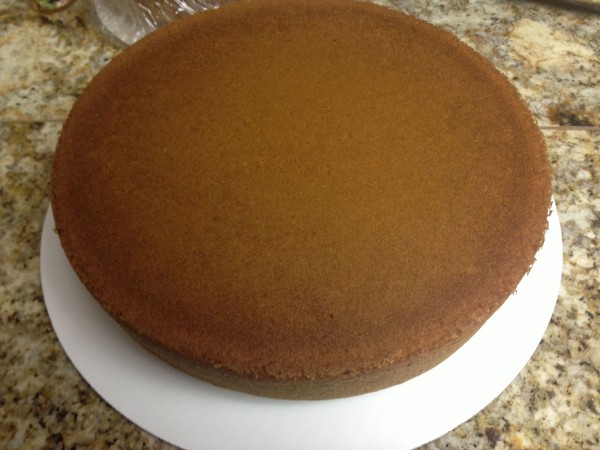
Step 1 – Bake the Cakes
I think I was naive when I thought I could make this cake with only 2 boxes of cake mix – since that’s what I use when I make my standard every day cake. I actually ended up using closer to 4 or 5 boxes. Fortunately, I found 3 boxes in my cupboard and was able to borrow 1 box from our neighbor (thank goodness for neighbors, right?). I decided to mix up my layers with Yellow cake and Devil’s Food cake. I usually love Devil’s Food cake, but in the future, I’ll avoid it with cakes like this. You’ll see why.
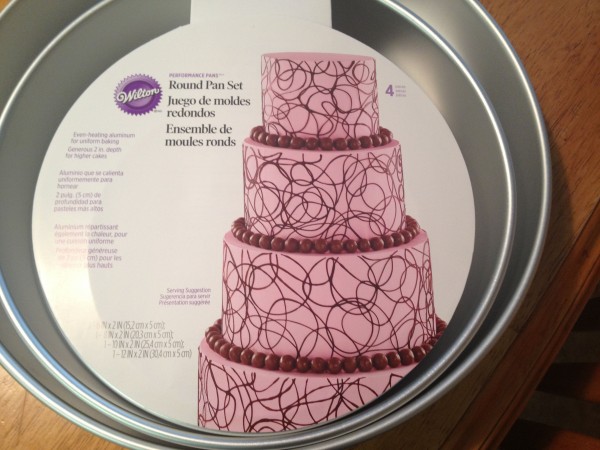
I was excited to use Wilton’s Round Pan Set for the first time. This set is awesome, especially if you are making bigger cakes! I used the 8″ and 10″ round pans for the Harry Potter Cake. It took a little longer to bake the cakes since I had to make 4 layers, but only had 2 pans.
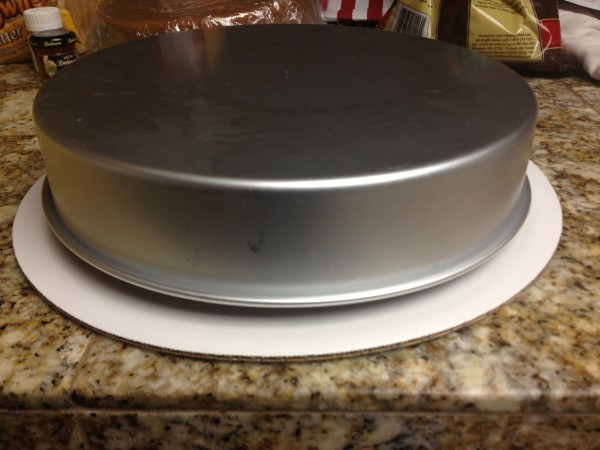
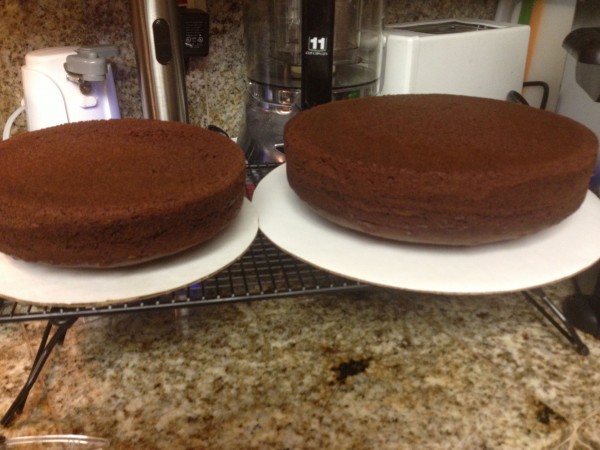
Once the cakes were baked and cooled, I flipped them over onto Round Cake Boards. I then placed the cakes on the cooling rack. Once the pans were clean, it was time to do the next batch of cakes.
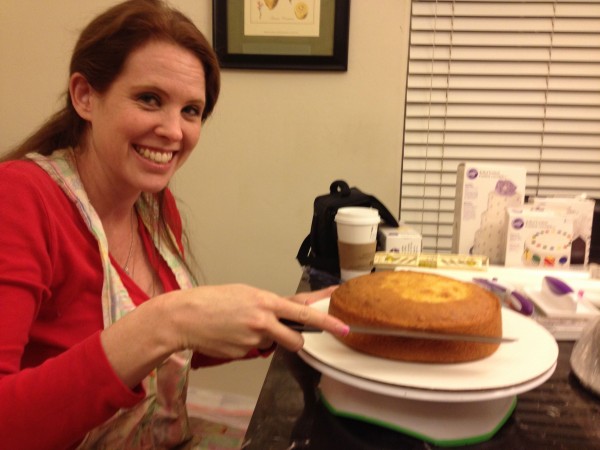

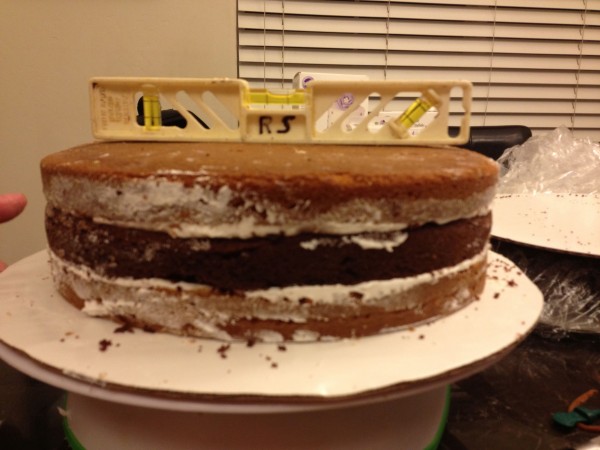
Level Your Cakes
The next step in the process is to level your cakes. I used a serrated knife on a turning cake stand for this cake. It was easy and quick – and gave me a lot of cake to snack on while I was busy decorating (ha ha)! Before icing the cake, you’ll want to level your cake so you have a more professional look. Wait until the cake has cooled at least one hour before leveling. If you are leveling the cake with a serrated knife, be sure to place the cake on a cake board and then place the board onto the stand. While slowly rotating the cake stand, move the knife back and forth across the top of the cake in a sawing motion to remove the crown. Try to keep the knife level while you cut.
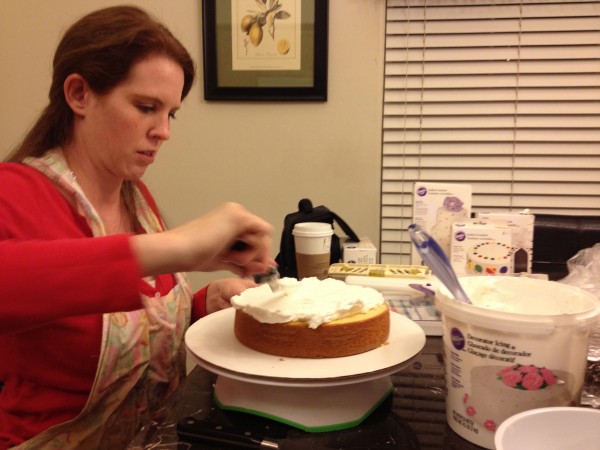
Fill and Layer the Cake
For a beginner, I would highly suggest using Icing to fill your cakes rather than the fruit filling – at least until you’ve made a few cakes. I love using Wilton’s Decorator Icing and often get a large tub when I do use it. Not only is it easy to work with, but it tastes really good! Remember to put thick layers of icing when spreading so you don’t tear the cake. If you do happen to get crumbs in the filling, that’s ok – since it won’t be visible to the outside. You also want to make sure the cake is level, so you don’t have any higher layers slide off.
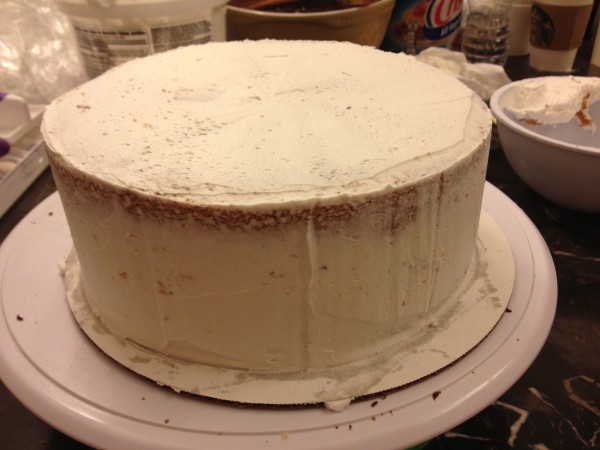
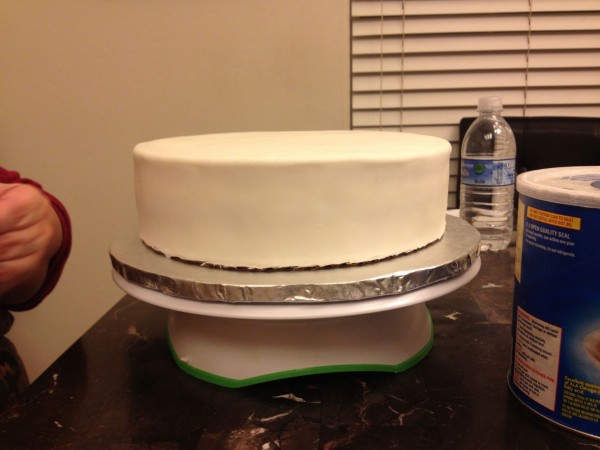
Ice the Cake
The next step is to ice the cake. Since we are doing a fondant cake, it’s not as vital to avoid crumbs in the icing as it would be in a non-fondant cake. You do want to make sure there aren’t large globs of icing on the outer layer as you will be placing the fondant over it.
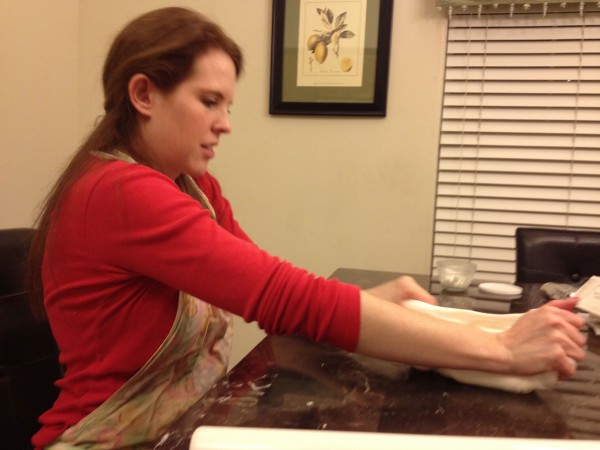
Get to Know Your Fondant
The next step involves getting to know your fondant. This step is probably the longest and hardest step in the process and it definitely requires the most muscles! Make sure you have plenty of powdered sugar on the surface and on your hands, as you’ll find it fairly sticky when you first began using it. You want to stretch the fondant – making it easier to work with and not as stiff. This will take some time and lots of energy!

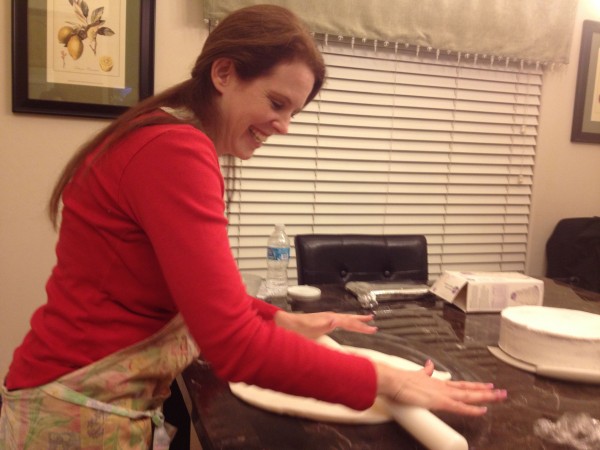
Cover the Cake with the Fondant
This is the fun part! Now that you’ve “gotten to know your fondant,” you can actually use it and make your cake look as smooth as silk! You want to make sure that you roll it out so it is large enough to drape over you cake and even cover the edges of the cake board. Once you have it smoothed out over the cake (releasing any trapped air bubbles that might be underneath), you can fit it to the cake.
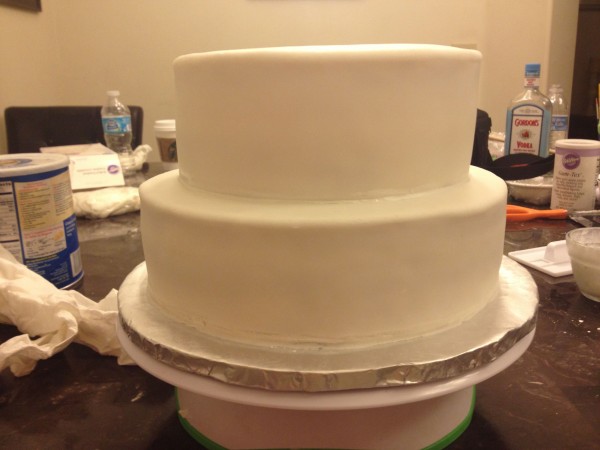
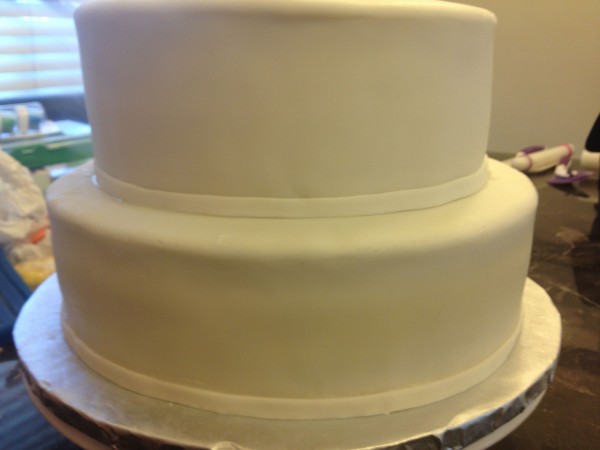
Fit the Fondant to the Cake
Now that you’ve draped the fondant over the cake and smoothed it out, it’s time fit the fondant (just like fitting a wedding dress – only with food)! I love how smooth and pretty it turned out!
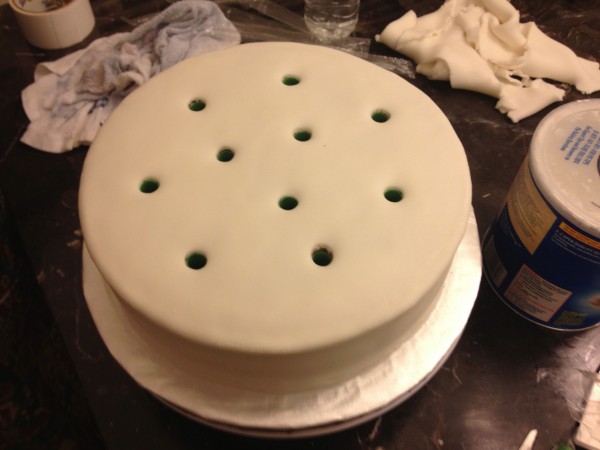
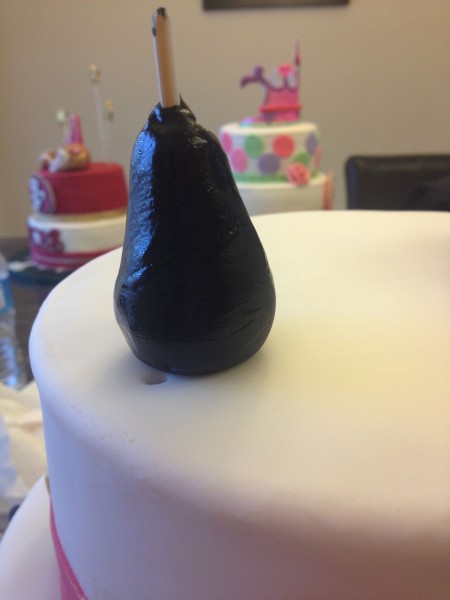
Give Structure to the Cake
Next, we added the big Bubble Tea Straws and placed them in the cake to add structure and give strength to the cake. The reason for this is that we don’t want the cake to cave in on itself. When you insert the straws into the cake, be sure that they go all the way in (cut down so there is no access sticking up above the cake).
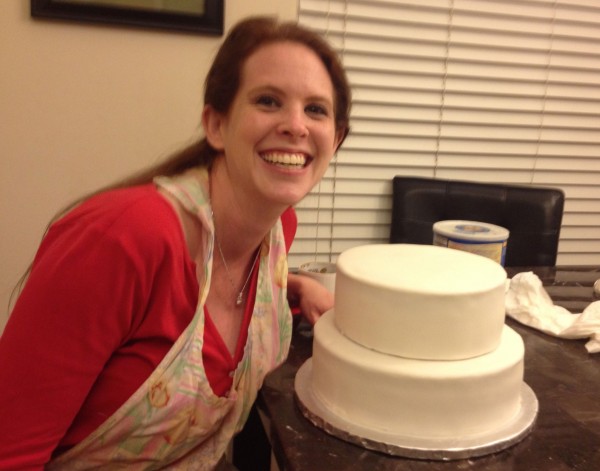
Add and Seal the Top Layer
Now that you’ve given structure to the bottom portion of the cake, it’s time to add the top portion. For the sealant, you’ll want to mix some Royal Icing and water to make a paste. Using a paint brush, add that to the gaps between the layers.
Add the Belt to the Cake
I’m sure there is a more technical term used by professional cake decorators, but I’m going to call it adding the belt to our cake. After all, when I was making this cake, I envisioned the fairy godmothers from Sleeping Beauty as they whipped together the beautiful gown for Princess Aurora’s birthday. Ok, that was totally a side note, but now you see why I call it adding the belt to the cake, right? For the belt, you will cut a long strip of fondant and use the paste (created above) to glue it into place on the cake.

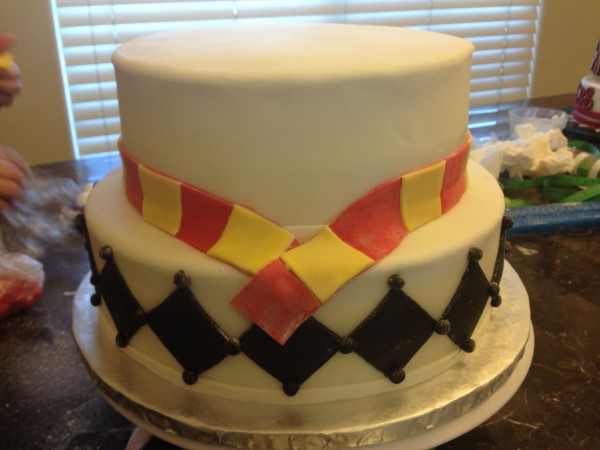
Add the Border to the Cake
For this part of the cake, I used the pre-colored fondant (what a time saver). I honestly can say that I would spend a little more money on the pre-colored fondant rather than trying to color it myself. I’ve found that it takes a lot more coloring and a lot longer to get the fondant the right shade when I do it myself. I used fondant cutters for the different shapes on the cake. You will use the Royal Icing paste to glue the fondant pieces in place. Remember to keep the fondant rolled in powdered sugar when handling it. No worries about the dust of sugar on the fondant as you can simply brush it off at the end.
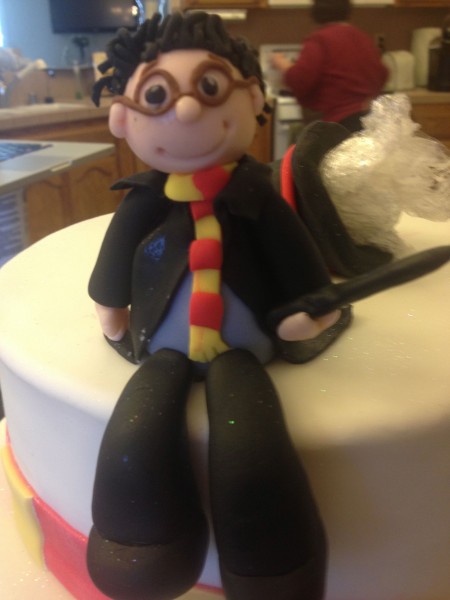

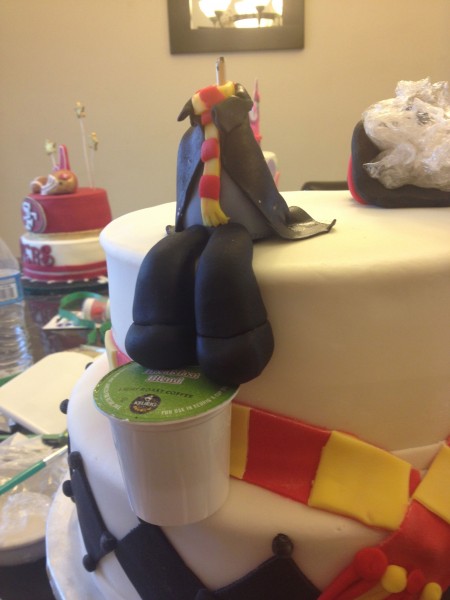

Make Your Harry Potter Character
Now it’s time to make your Harry Potter character! First, you start with the body – probably the easiest part, other than the legs and feet. Then you stick a skinny dowel through the body and place it into the top layer on the edge. The skinny dowel will serve as an anchor for the body on the cake. Next, you use the different colored fondants and created the different features for the body. Again, you will use the Royal Icing paste as a glue. Until the legs dried in place, I used a K-Cup to keep them from drooping or breaking off the body. I removed it the next morning, as the fondant was dried.
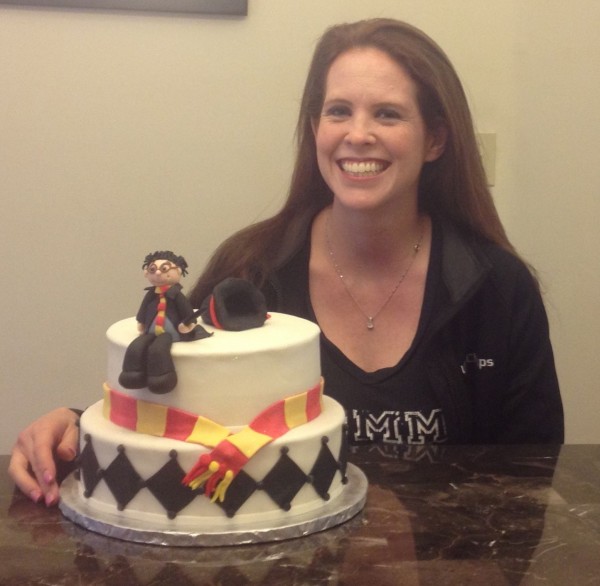
Enjoy!!!
Congratulations! You did it! Your Harry Potter Fondant Birthday Cake is a success and you should be so proud of yourself for the hard work, creativity, and dedication that went into your cake. Until next time, happy decorating!
What kind of themed cake would you like seen decorated with fondant?
[wl_faceted_search]
Fabulously done! I create cakes as well and Wilton has always been my must-have EVERYTHING brand..hehe
Thanks so much Kristen. I love Wilton products as well! 🙂
That looks incredible! Good work. I wish they had Wilton Moms in Canada. Fantastic opportunity to build creative baking skills!
You did a great job. Love the KCup holding up the little guy’s legs. Now I want to make and decorate cake. I’ll see what I can come up with for my daughter’s 6th birthday in a few weeks.
You are so talented! I love the general tips you gave for making a straight and smooth cake – a great foundation makes all the difference.
Sort of unrelated, but where’d you get the bubble tea straws? I was thinking I wanted to get some the other day for something different and didn’t know the best place to find them.
My brother-in-law and I had fun last December making a marshmallow fondant Veggie Tales cake for my daughter. I can’t believe I never posted pictures on my blog about it. I’ll have to remedy that! 🙂
Girl you are amazing, seriously you make super mom look easy! I’m scared to try things like this to this post I *might* get some courage!
That cake is amazing! My son would love that – unfortunately I am not as talented as you. Great work!
What an awesome cake! YOu make it sound so easy, too!
I love your step by step pictures! I am not a baker and it makes it easy for me to follow along. Thanks!
Oh my goodness! You need to open a bakery! That is adorable and so original!!
WOW! You make this look so easy!! I love your step by step instructions, though I’m confident I could not master making a Harry Potter to sit on the cake!
That is such an awesome Birthday Cake!!! My kids would completely freak out!! I’m not a fan of eating fondant, but man, it sure does make some mighty amazing looking decorations!
Still fabulous!
That looks fantastic! Not just because I love Harry Potter, but because it looks perfect and yummy too!
this is too cute to even eat how fun i love stuff like this
That cake is so cute! You did a good job 🙂
So cute, I love this!! We just started reading the 1st Harry Potter with my girls (was are almost 4 and almost 6). I’d love to have a Harry Potter themed party, that sounds like a lot of fun.
Looks great! Good job!
Pingback: Wilton’s Fondant Basics Prize Pack Giveaway
love it. i’m truly impressed with your creation
I would love to make this for my nephew, a real Harry fan.
Great job! Looks amazing!!
Good joblinda finn
This is amazing!! You did such a good job creating him!!
awwww you did a great job on the Harry Potter Fondant cake. so cute! And I am a huge long time fan of Wilton. When my 5 kids were growing up, I self taught myself to decorate all kinds of wonderful themed cakes for all their birthdays and holidays every year and now we have so many happy memories and photos to reminisce back on now that they are all grown up. Also now my oldest daughter Brittany took Wilton cake decorating courses 1,2 and 3 and just naturally artistically gifted besides that. So she has taken over the cake decorating now.
Brilliant ideal, I love this Harry Potter cake! DDs would be thrilled to get one each for their birthdays
Im a little scared of fonduit. I havent even tried it yet but I should because my kids are older and the handmade flowers and leaves dont impress them anymore 🙂
What a great looking cake! Wilton products are the best!
Wow, that is one lucky birthday boy to have such a great cake! I’m still getting used to fondant, and haven’t done much with it other than flowers.