
Ready, Set, Scan with Disneyland at Smart & Final
Today, on Redhead Mom, I’m sharing about Ready, Set, Scan at Smart & Final in partnership with Disneyland Resorts.
Are you planning a trip to the Disneyland Resort in Southern California? Usually the first question on one’s mind when they’re planning a trip to Disneyland is “Where do I buy tickets?” I just recently learned about the Ready, Set, SCAN! option available at Smart & Final. In my opinion, it’s super easy and pretty cool! I love that I can do securely buy Disneyland tickets from my phone while I’m shopping for groceries and other items at Smart & Final!
Where to Find Disneyland Resort Tickets
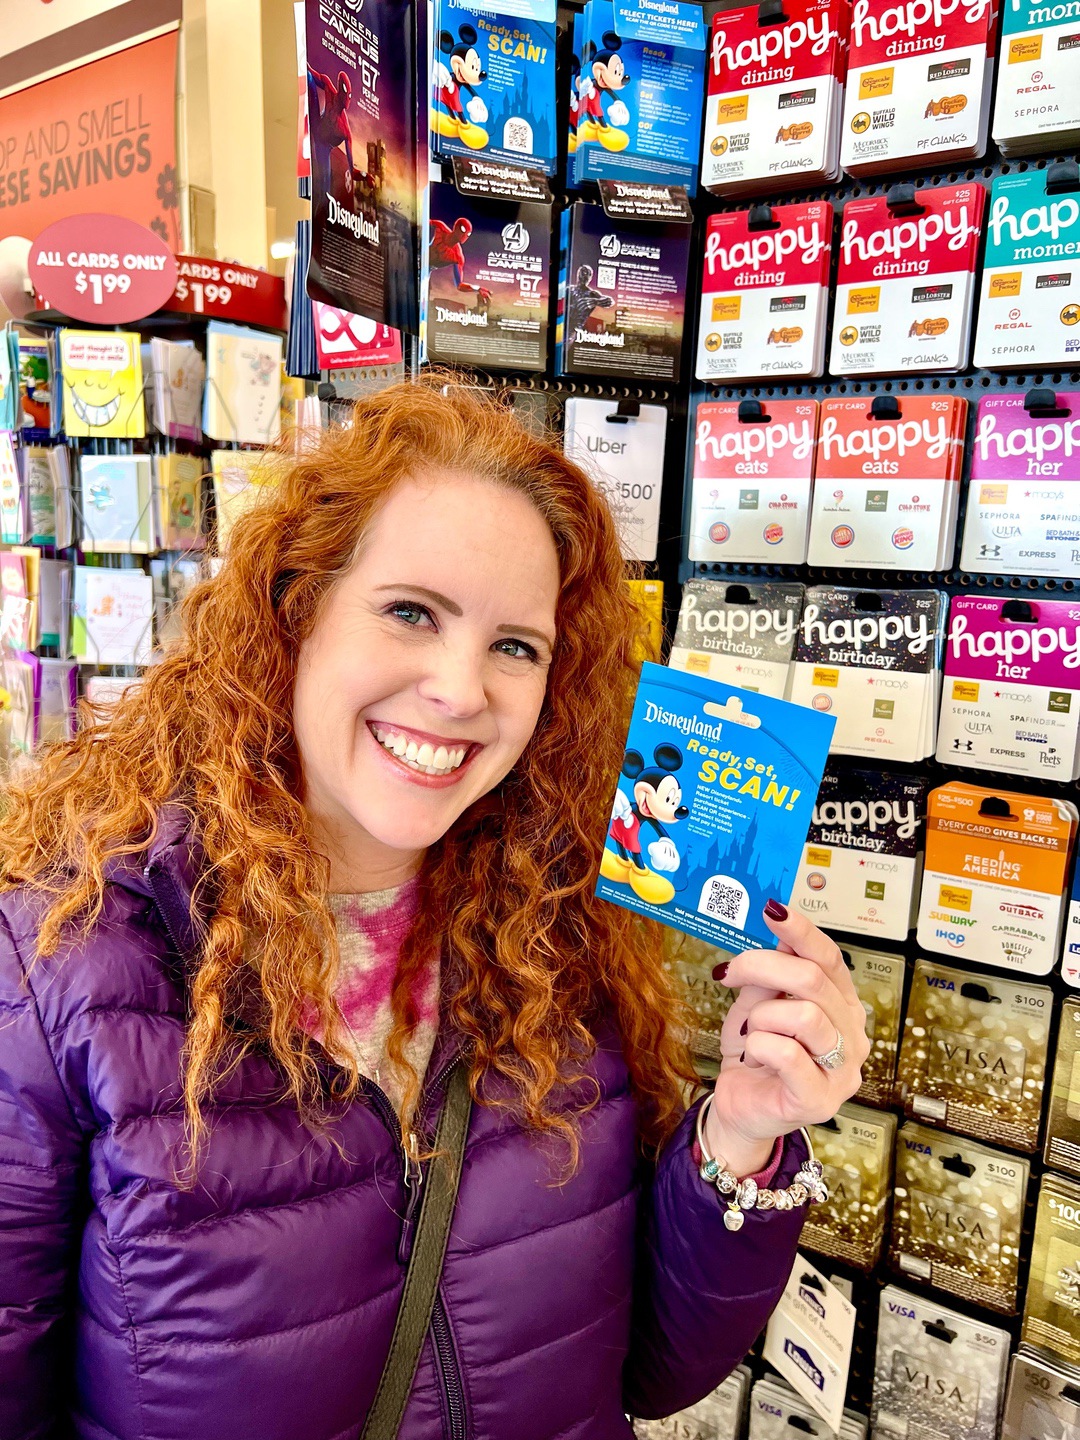
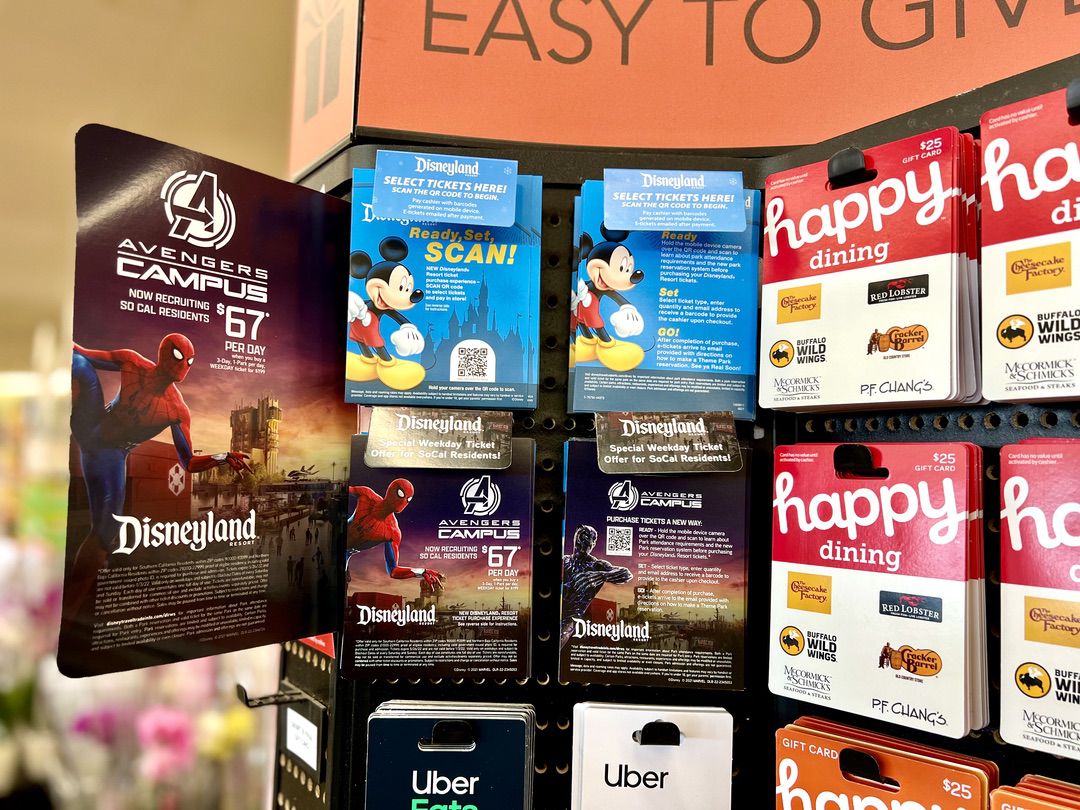
Where do I find Disneyland Resort Tickets at Smart & Final? If you’ve been to Smart & Final before, you know they have a big section of a variety of gift cards for purchase. Among the gift cards, you’ll find the bright blue cards that say “Disneyland Ready, Set, SCAN!” The bright blue color and Mickey Mouse (of course) made them super easy to spot! While there are other Disney gift cards with monetary increments (i.e., $25, $50), these are not the ones you need to use in order to buy Disneyland tickets. You need to use the Disneyland Ready, Set, SCAN! gift cards that have the QR code on them.
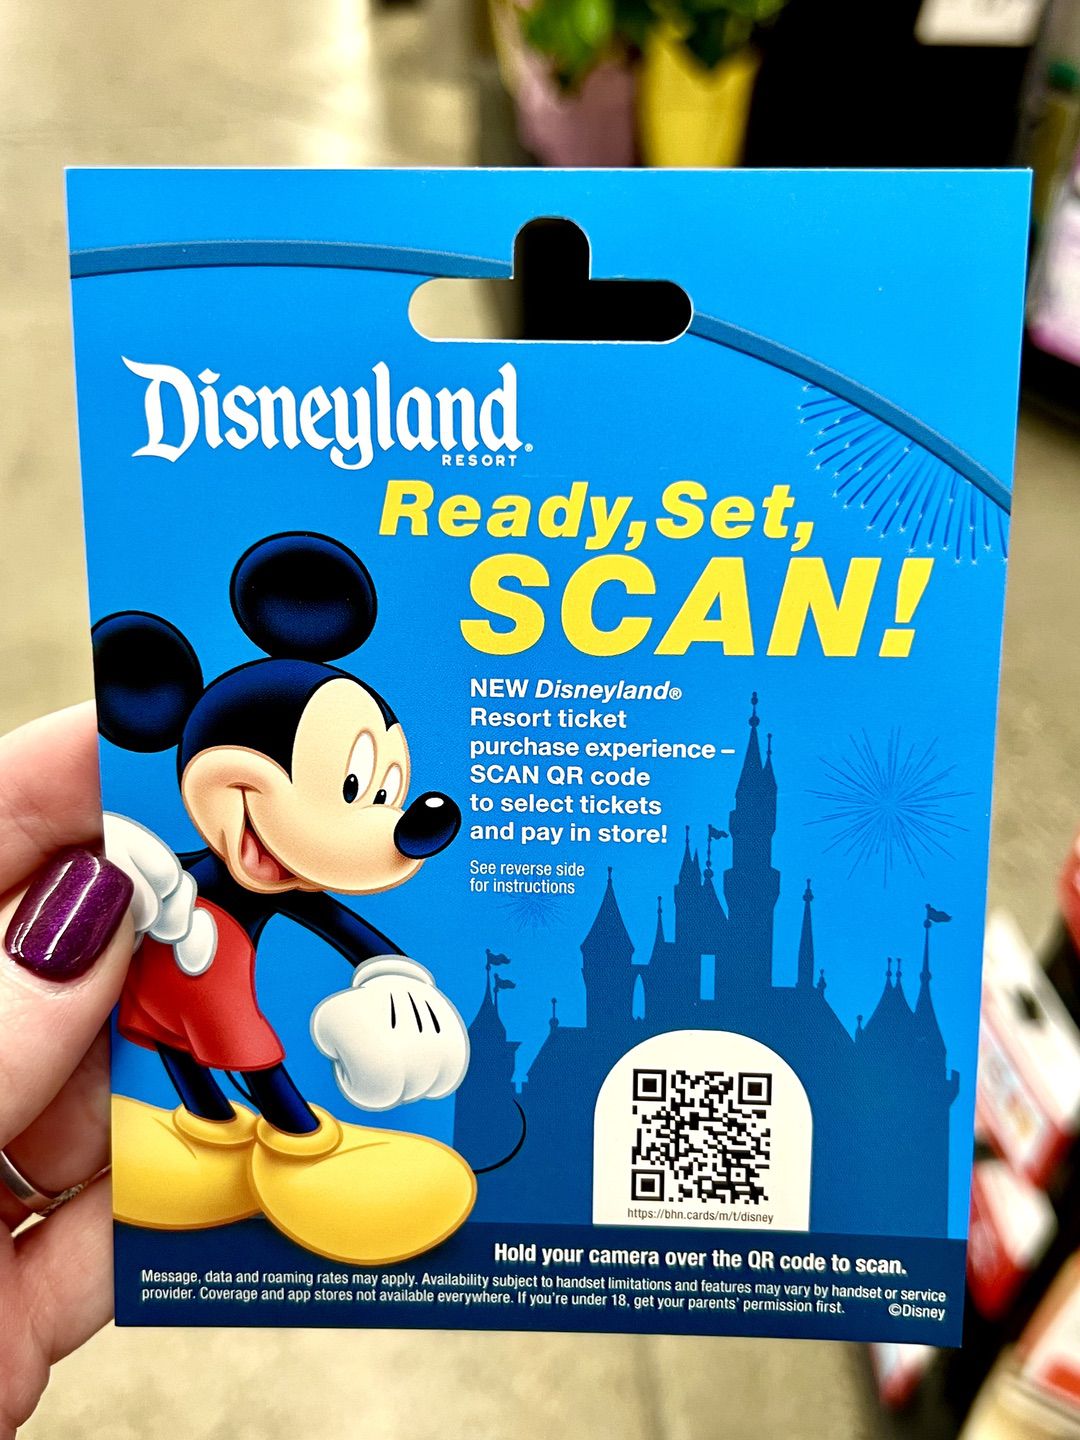
STEP 1 – Scan the QR Code!
Remember, you don’t need to buy one of the Disney gift cards, but you do need to use the Disneyland Ready, Set, SCAN! blue card with the QR code to purchase your Disneyland tickets. You don’t even need to take the blue plastic card with you. You can simply scan the QR code, keep it on your phone, and shop around the store for the rest of your groceries.
How to Buy Disneyland Tickets at Smart & Final
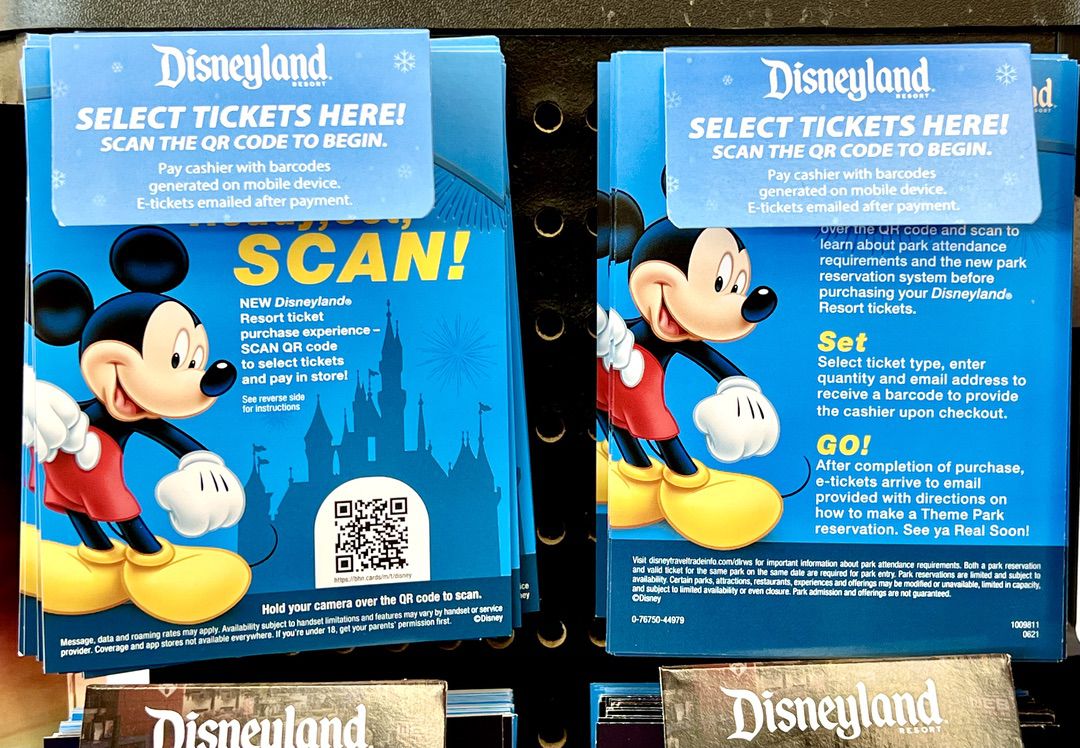
When you find the Disneyland Resort card that says “Ready, Set, SCAN!” or the mini poster that looks like it, you will see a QR code. Use your phone to scan the QR code. Once the QR code connects, you will be directed to a website (not an app) that is owned and operated by Blackhawk Network where you can purchase your Disneyland Resort tickets and check the park availability calendar.
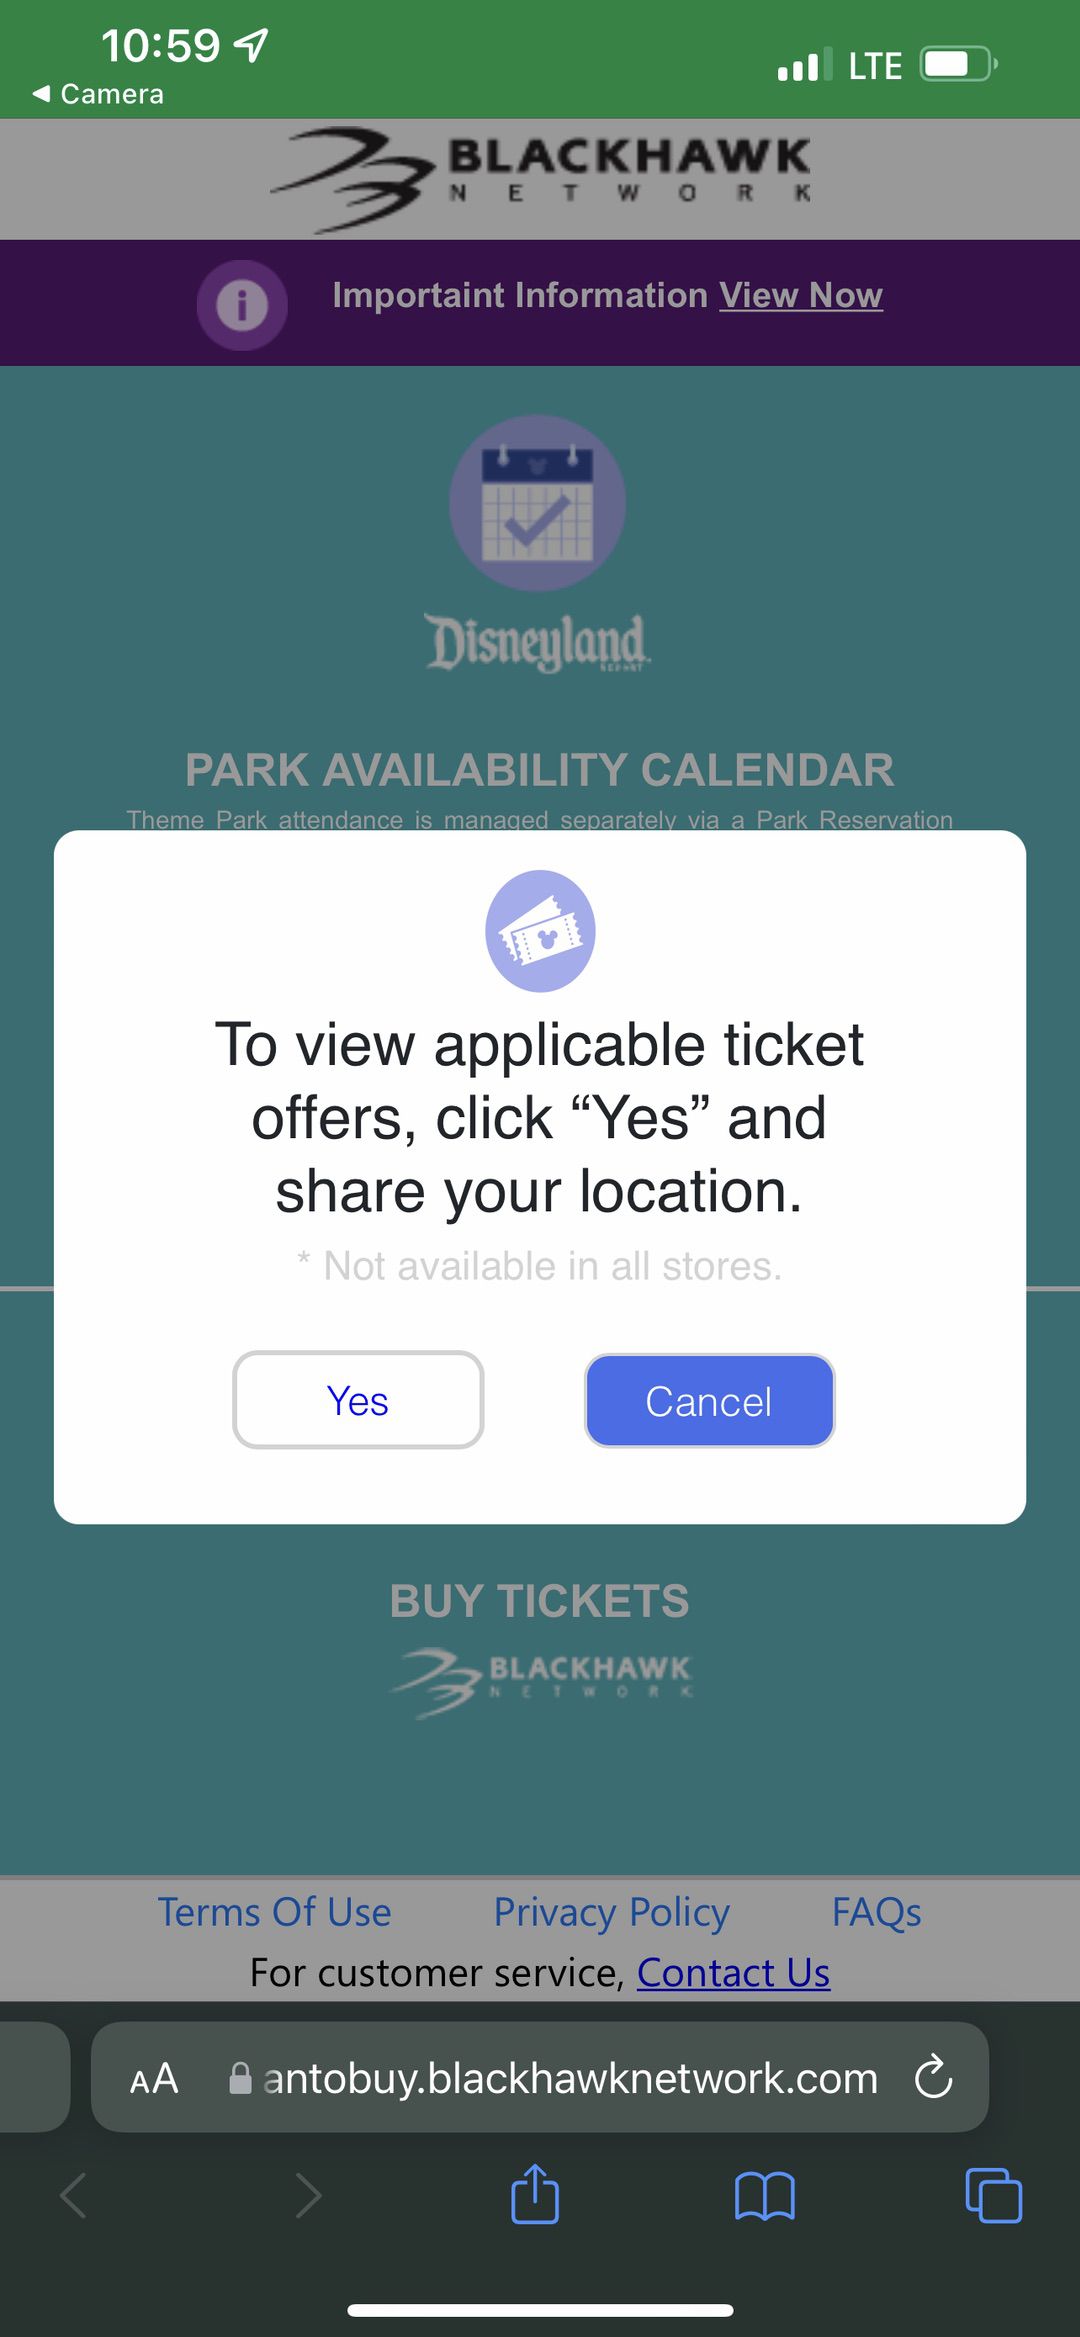
When you first enter the website, you will need to confirm your location. By sharing your location, you will receive all of the tickets available, including special ticket offers. You can opt out of this and still buy your tickets, but the special offers will not be listed.
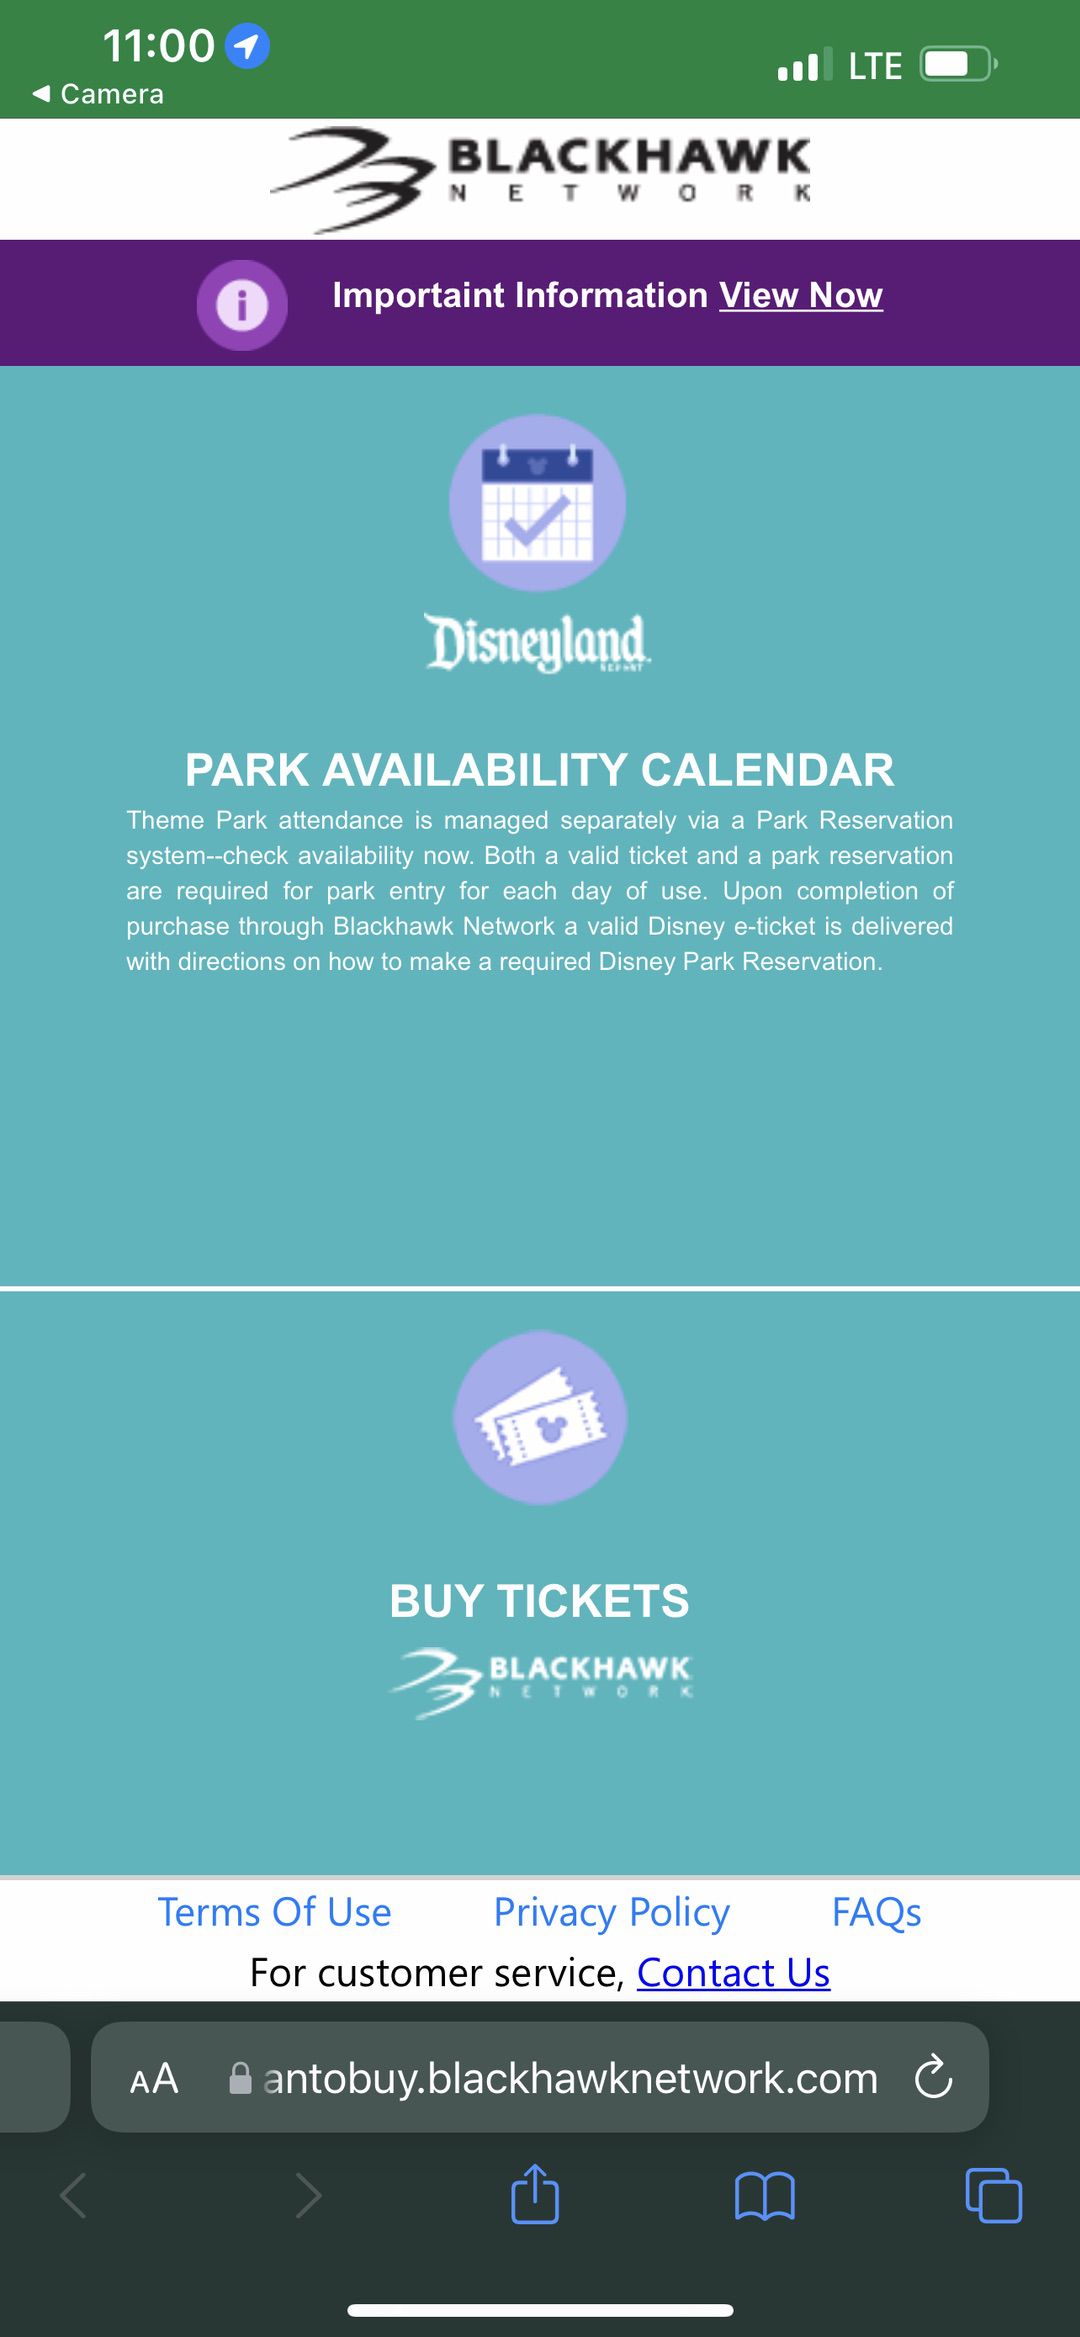
On the next screen, you’ll see three different options – (1) Important Information, (2) Park Availability Calendar, and (3) Buy Tickets.
Important Information – You’ll find information on what you need to know before visiting Disneyland Resort, including the latest information on required face coverings.
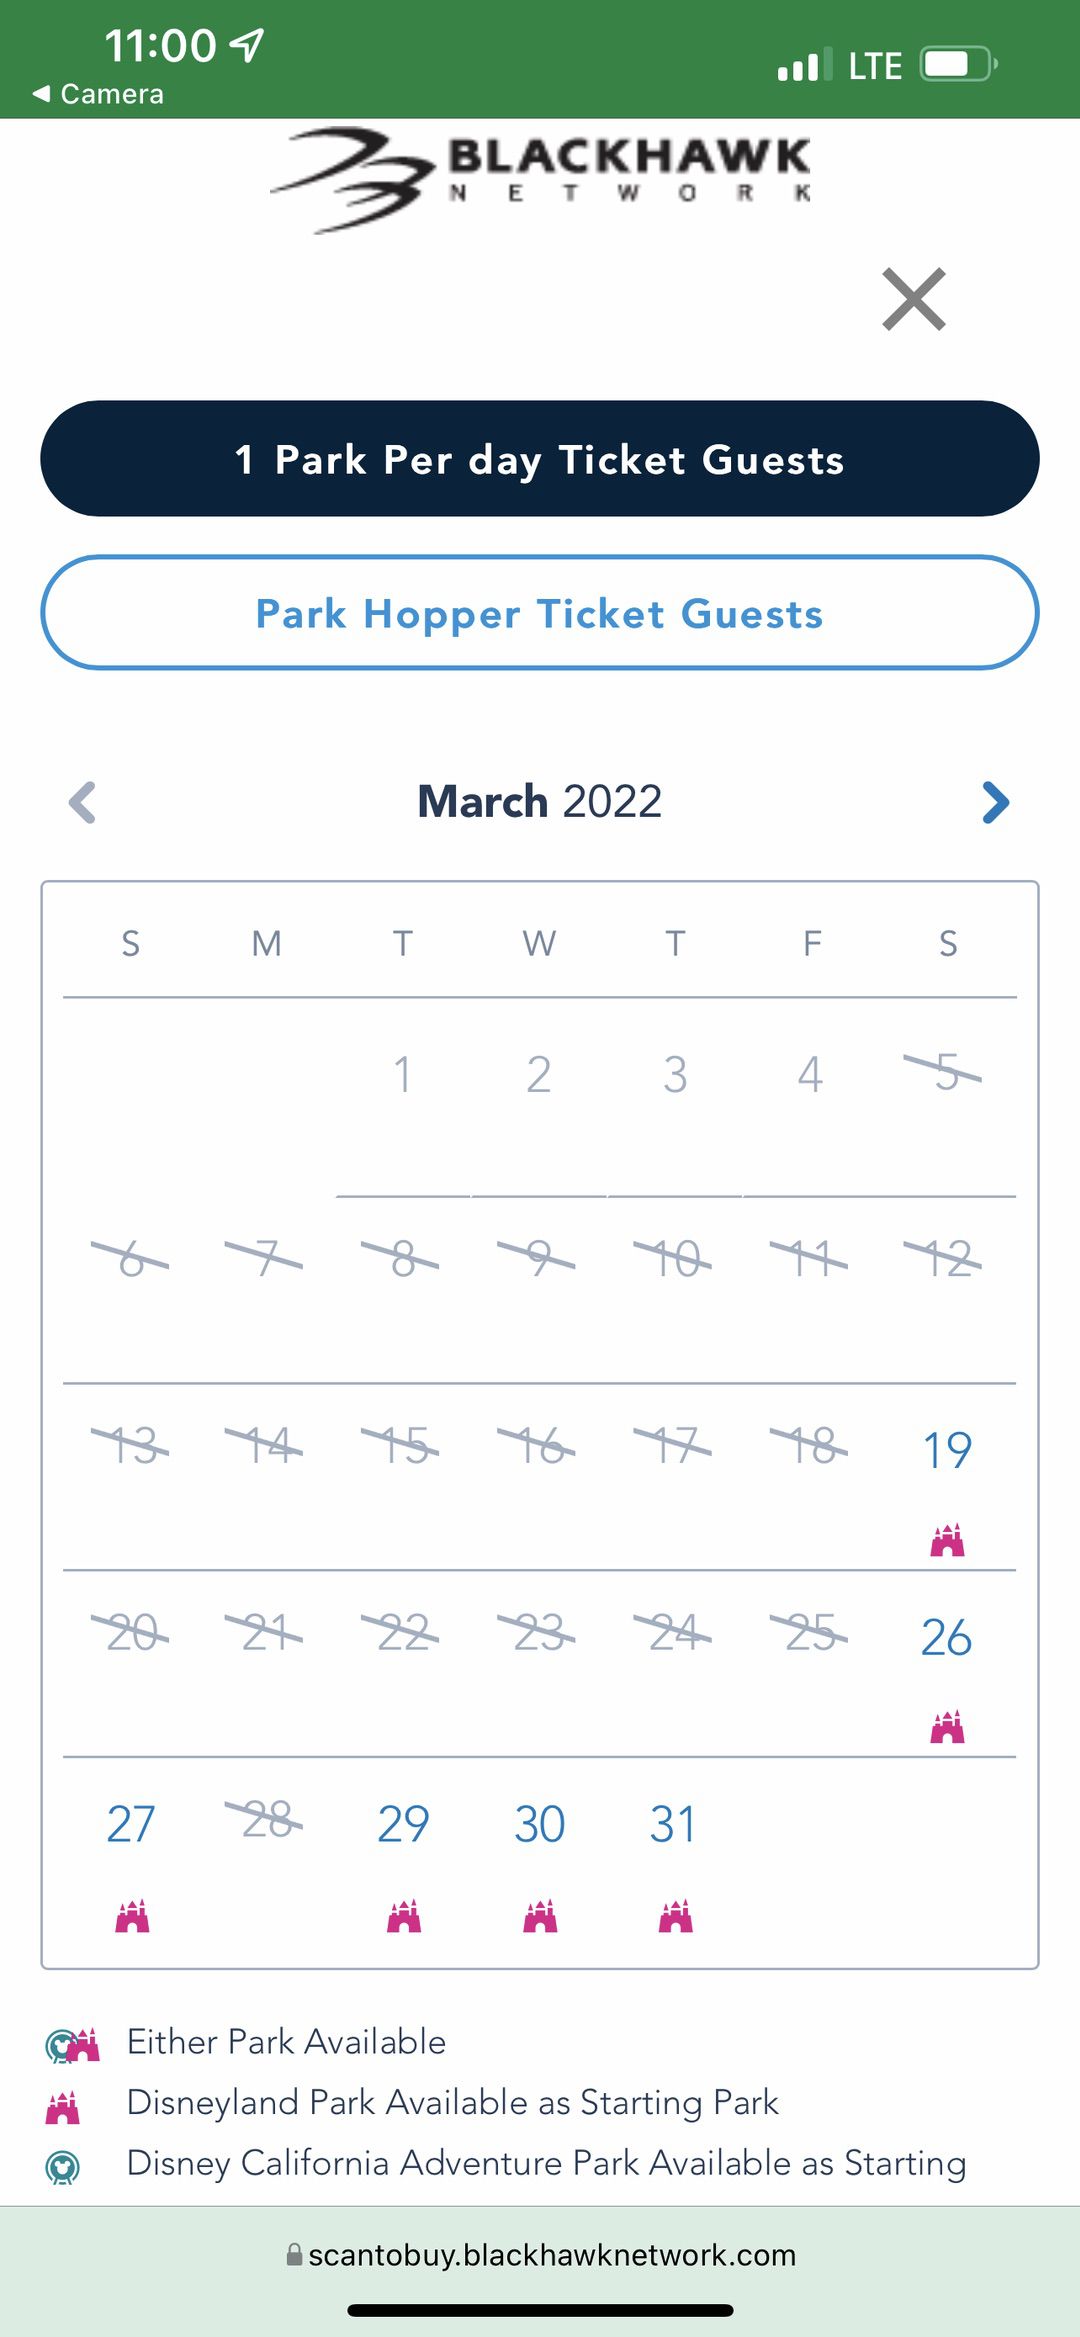
Park Availability Calendar – You’ll find information for making a reservation. You must have a reservation to get into Disneyland Resort theme parks. The park calendar is informational only. You can use it to check park open dates and learn about current operating procedures.
Buy a Ticket – This is where the magic happens! Here, you will pick the type of ticket you want to buy, select the number of tickets you need for each age group (up to a maximum of six tickets), and then proceed to checkout. **When you receive your digital tickets, you will be provided a link to make your park reservation. You will need the barcode numbers from the e-ticket to complete the Park Reservation process.** If you already have your tickets, you make your Park Reservation at Disneyland HERE.

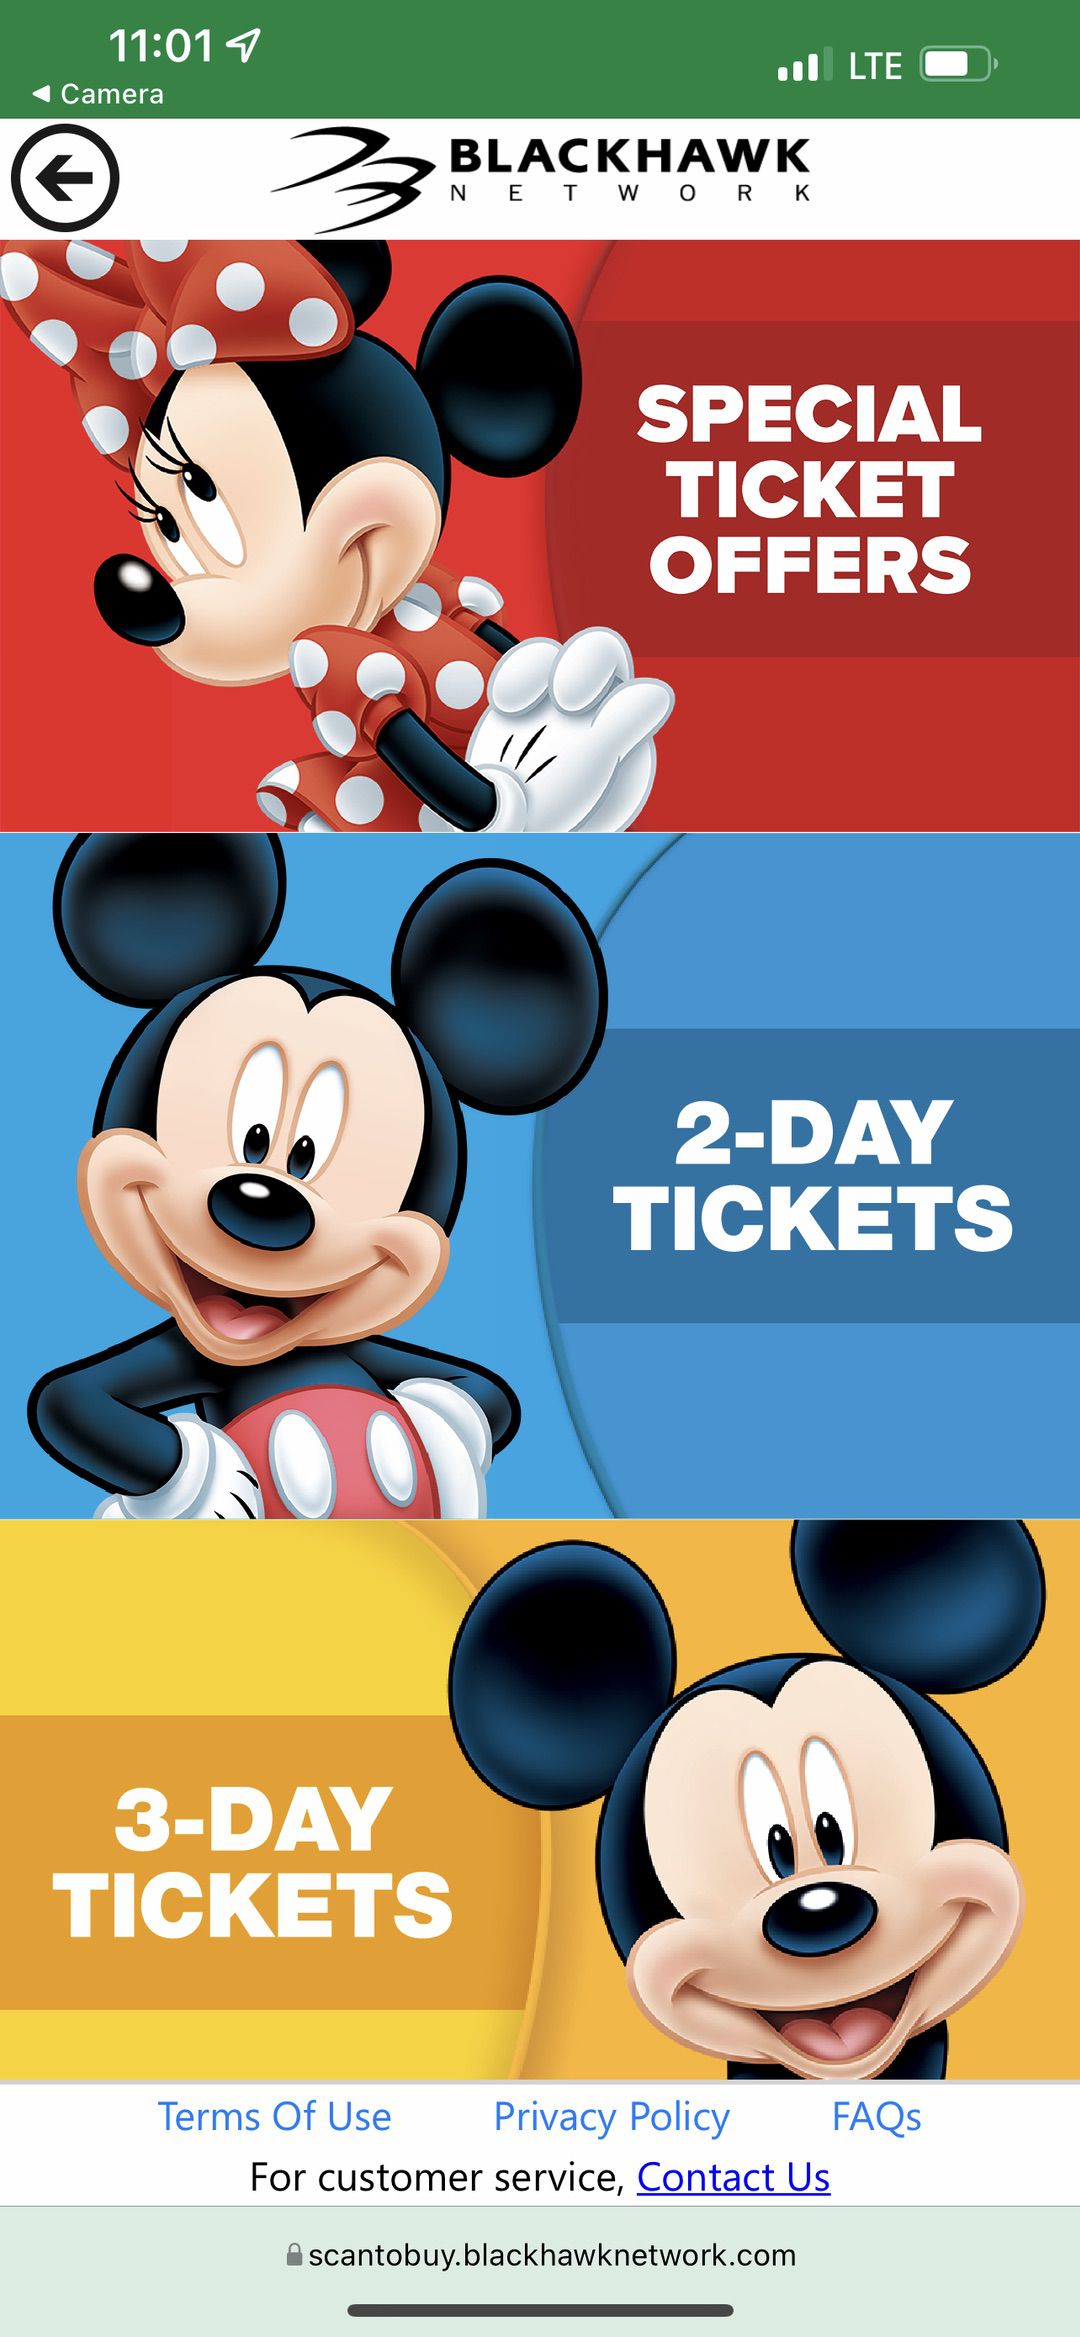
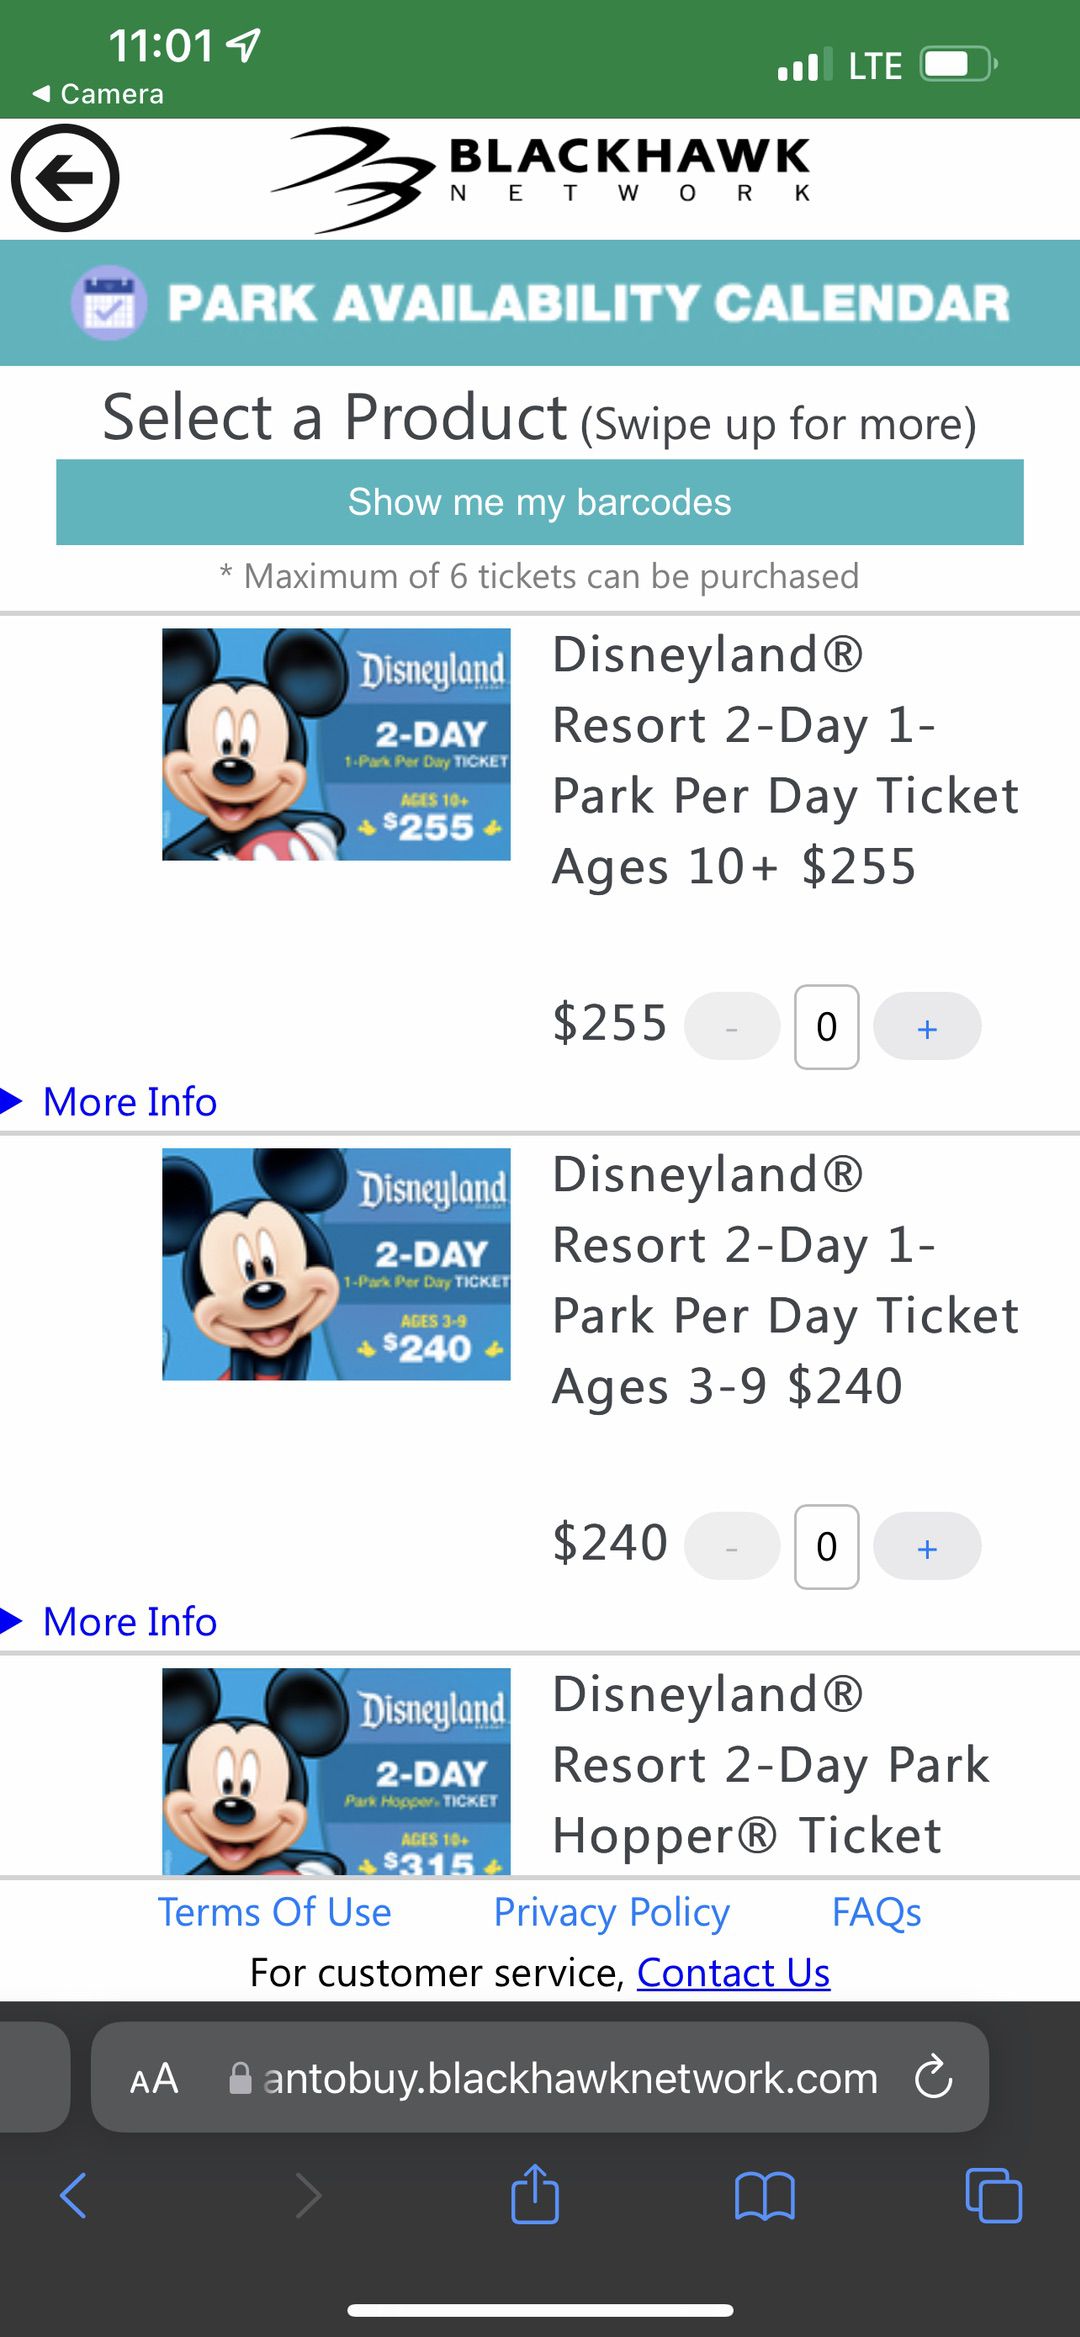
Step 2 – Select Disneyland Resort Tickets
Here, you will choose the type of ticket you want to purchase. If you confirmed your location when you entered the site, you’ll find special offers here as well. Select the number of tickets you need for each age group. You are allowed to buy a maximum of 6 tickets.
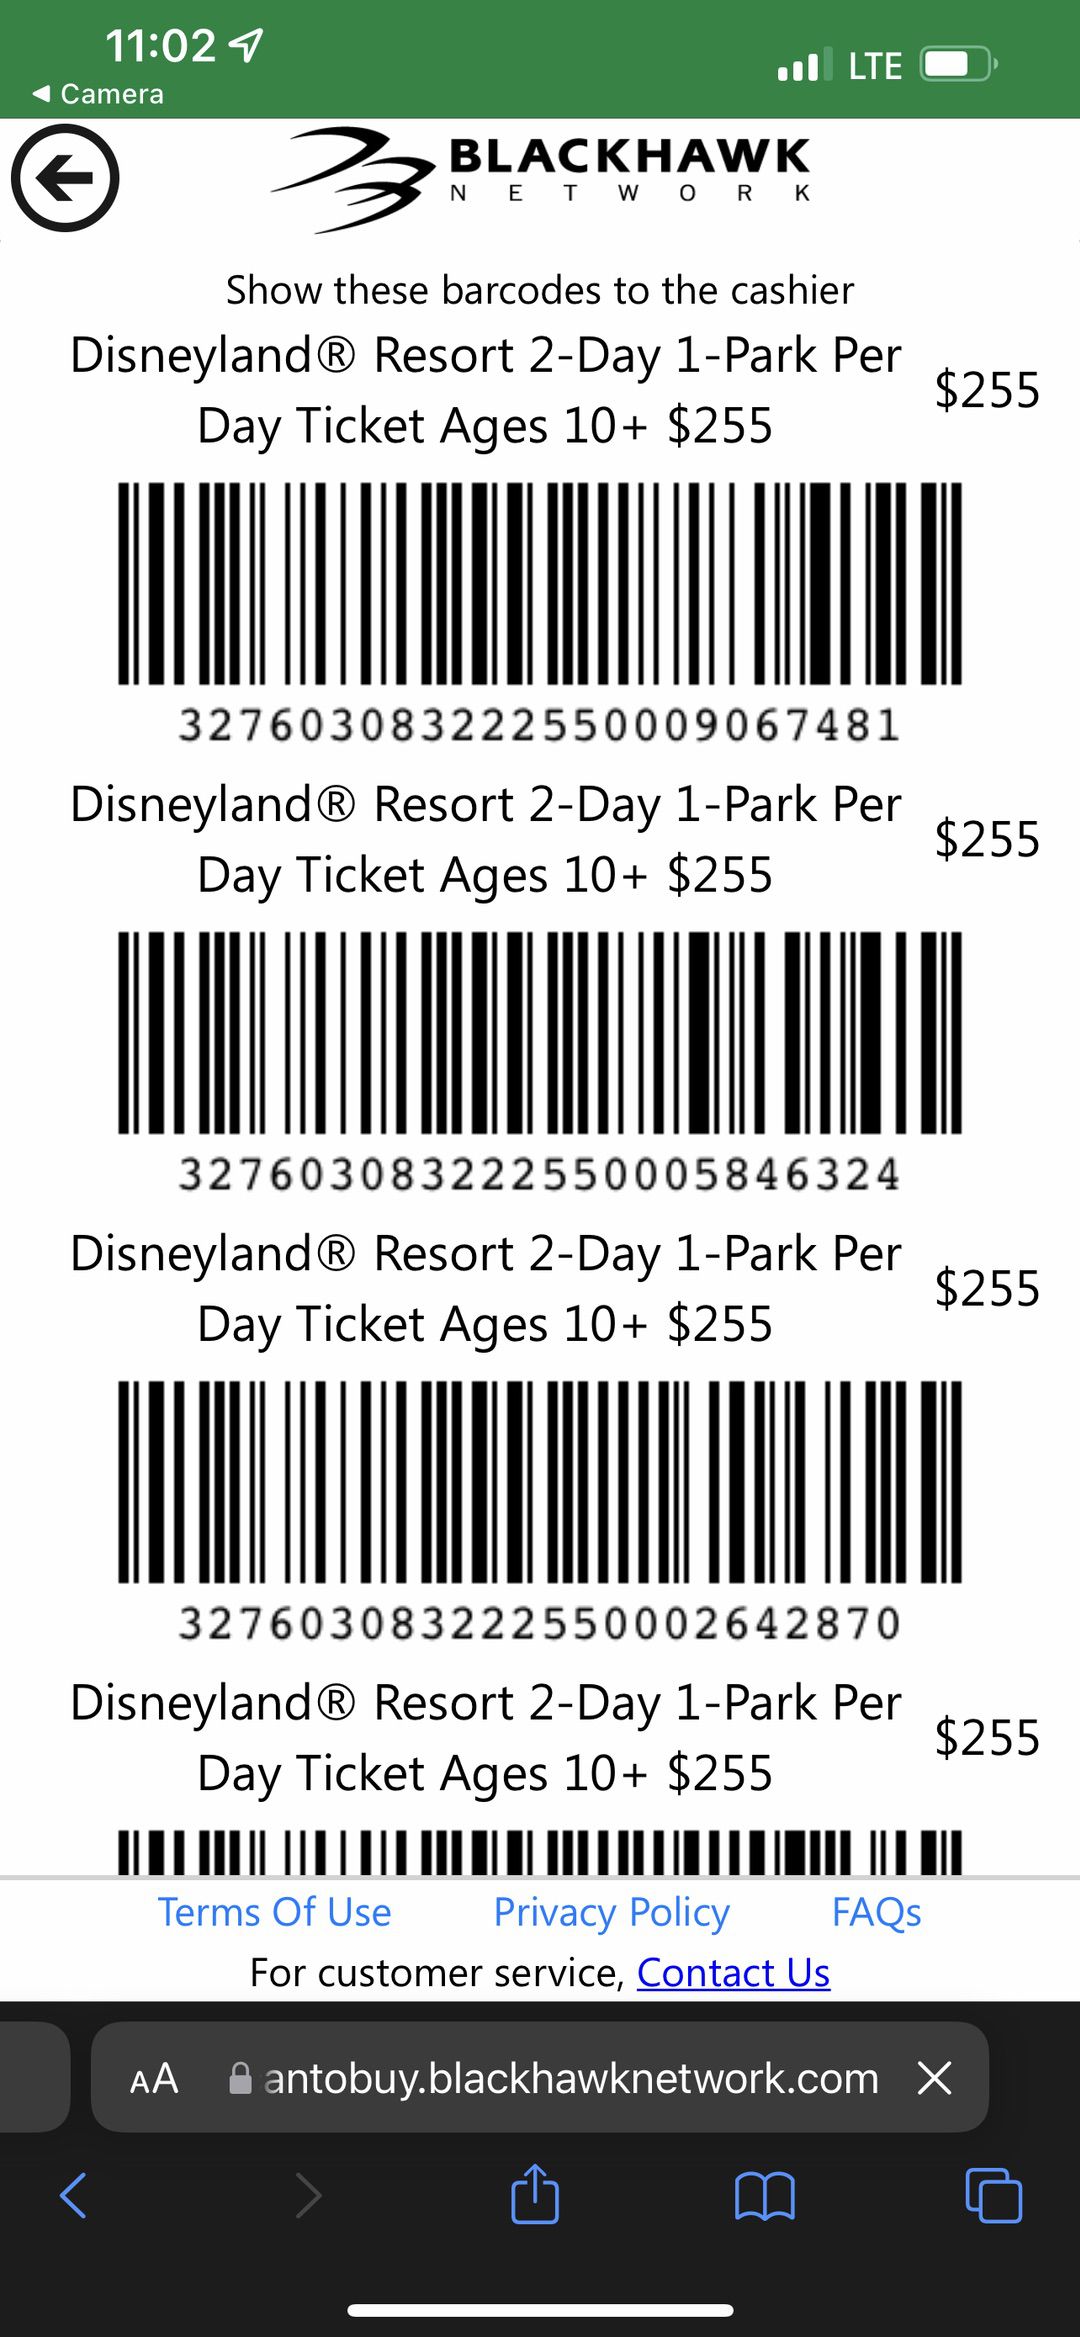
Step 3 – Show Me My Barcodes
After selecting the tickets you want, press the button at the top or bottom of the screen that says, “Show me my barcodes.” You’ll be asked to enter the email address that you want the tickets sent to. Once you enter and confirm that the correct email address has been entered, the barcodes for the tickets will be displayed on the screen.
You are automatically given 30 minutes to take those barcodes to the cashier and complete the transaction. However, if the 30 minutes expire, you can hit the “refresh icon” image shown below and new barcodes will be regenerated.
Step 4 – Buy Disneyland Resort Tickets
The last step is easy. Take your phone showing the barcodes to the cash registers. Show the barcodes to a cashier or scan them yourself at self-checkout. You’ll see the ticket price show on the Target checkout screen. Confirm you entered the correct number of tickets and complete the transaction.
REMEMBER: Once you scan and select your Disneyland tickets, you have 30 minutes to complete the transaction at the cash register. However, if the 30 minutes expire, you can automatically hit the “refresh icon” image (shown above) and new barcodes will be regenerated.
Step 5 – Check Your Email for Disneyland Tickets
Once the transaction is complete and the charge clears your account, the Disneyland Tickets will be delivered via the email address you entered. If you don’t see them right away, check your SPAM or JUNK folders to be sure the tickets didn’t get directed there.
Now you are on your way to a fun trip to Disneyland Resort!!


Leave a Reply