
How to Make a Leprechaun for St. Patrick’s Day – Craft for Kids
St. Patrick’s Day can be a lot of fun for kids – filled with green clothes and jewelry, shamrocks, gold coins, rainbows and Leprechauns! What’s more fun is when our kids get creative while making crafts! My son, Dallen, created his very own Leprechaun for St. Paddy’s Day (with mommy’s help of course – hee hee)! Making your own St. Patrick’s Day Leprechaun is easy.
HOW TO MAKE A ST. PATRICK’S DAY LEPRECHAUN CRAFT
Here is what you need:
– Construction Paper
– Scissors (small ones for little hands is best)
– Glue
– Markers
– Imagination

1 – The first step is to make the Leprechaun’s Hat. Cut out the following shapes:
– Green Rectangle for the main part of the hat
– Green, long, skinny rectangle for the base of the hat
– Yellow Square for the buckle on the hat
– Black square to glue on the yellow square
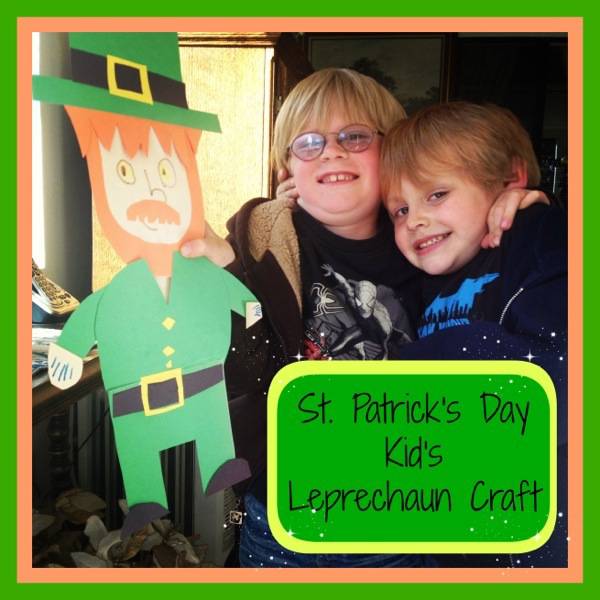
– Glue the pieces together as you see in the picture above.

2. The next step is to make the Leprechaun’s face. Cut out the following shapes:
– White or off-white (or whatever color you’d like) oval for the face.
– Orange oval trimmed to look like a beard.
– Orange rectangle cut with zigzags for the bangs.
– Glue the pieces together and then glue the hat onto the head.
3. You can choose to stop here and decorate the Leprechaun’s face or you can continue and make the Leprechaun’s body.

4. For the Leprechaun’s body, you need to cut out the following:
– Black rectangle for belt.
– Yellow Square for belt.
– Same colored paper as face in half circle for hands.
– Green Square cut out in the shape of pants.
– Green shirt.
– Black half circle for shoes.
5. Glue the pieces together and decorate with markers. You now have your own St. Patrick’s Day Leprechaun!


Leave a Reply