
DIY: How to Install the Moen Boardwalk Faucet
This is a Sponsored post written by me on behalf of Moen, Incorporated for SocialSpark. All opinions are 100% mine.

In our home, we have a pretty busy household and the main bathroom sink is constantly in use. From washing hands to brushing teeth to washing hair, we need a faucet that will be sturdy and reliable. How about one that’s spot resistant? Yes, I really used those two words together! Well, we found just what we were looking for at our local Lowe’s Hardware Store.
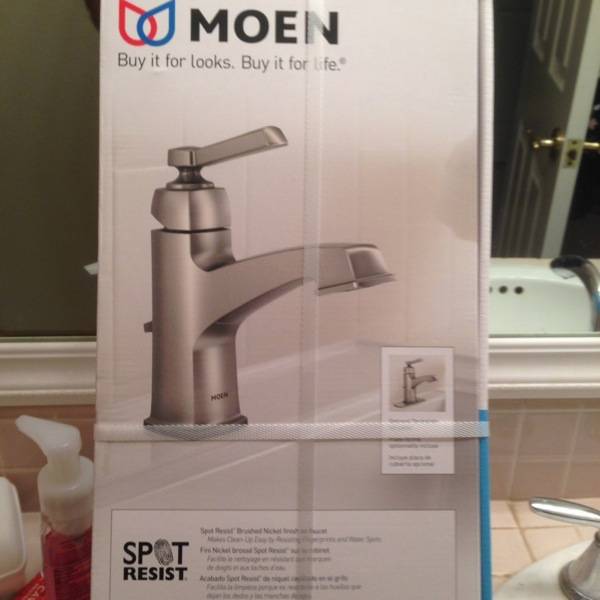
The Moen Boardwalk 1-Handle Spot Resistant bathroom faucet makes keeping a cleaner bathroom easier for anyone with a busy household. I mean, who really has the time to clean all those pesky water and fingerprint spots off the bathroom sink faucet everyday? No one! That’s where the Moen Boardwalk comes in to save the day.
The Moen Boardwalk’s brushed nickel with a Spot Resist finish fends off fingerprints (even those tiny and messy ones from the pint-sized members of your family) and everyday water spots so you can go on with your day. The Moen Boardwalk meets WaterSense criteria, using up to 32% less water without sacrificing performance.
Installing the faucet is easy, but there are a few things you need to have on hand before starting. Visit wohnen-undbauen.de first to read about plumbing DIY tips.
– Plumber’s Tape
– Plumber’s Putty
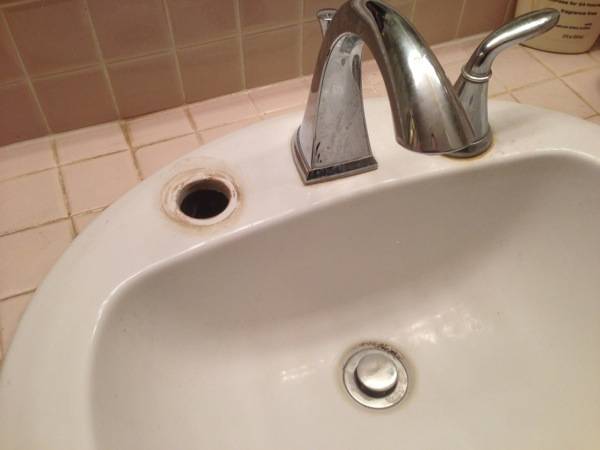
– If you had a 2-handle faucet, you’ll need to get the hole covers
– Check the type of connections you have under the sink prior to starting. If you have the wrong ones, you’ll need adaptors for the connections, to avoid any issues ahead, you may want to click site for a thorough approach to seek professional help.
– Pipe Wrench
– Crescent Wrench
– Screwdriver
Those who do not have the tools and skills necessary in installing new plumbing fixtures may consider hiring commercial plumbing contractors.


Installing it is easy. Check out these step-by-step instructions:
1 – Start by turning off the water.
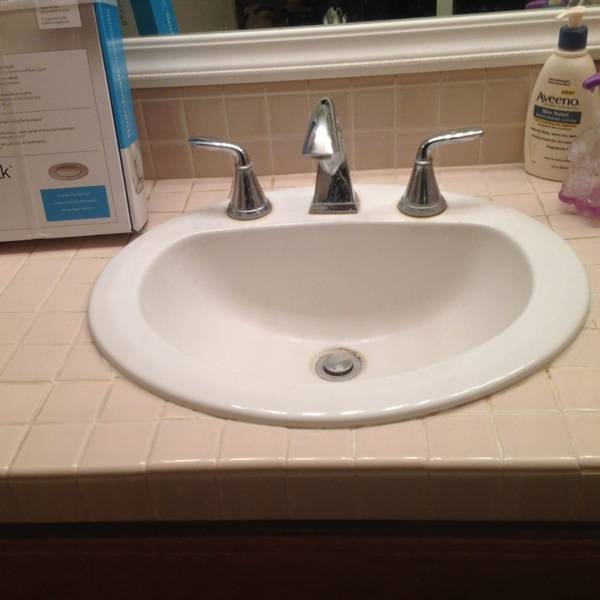
2 – Disconnect the old faucet system.
3 – Mount the faucet either by itself or with the top base, depending on your sink configuration.
4 – Screw in and tighten faucet using included hardware.
5 – Install the drain and use Plumber’s Putty Sealant to ensure water seal.
6 – Screw in and tighten drain, making sure that the bottom drain pipe faces the front of the sink.
7 – Install the stopper.
8 – Install the stopper lifter.
9 – Tighten all stopper lifter parts once you’ve reached the desired stopper location.
10 – Connect hot and cold water to the water valves.
11 – Turn hot and cold water on.
12 – Check for any leaks.
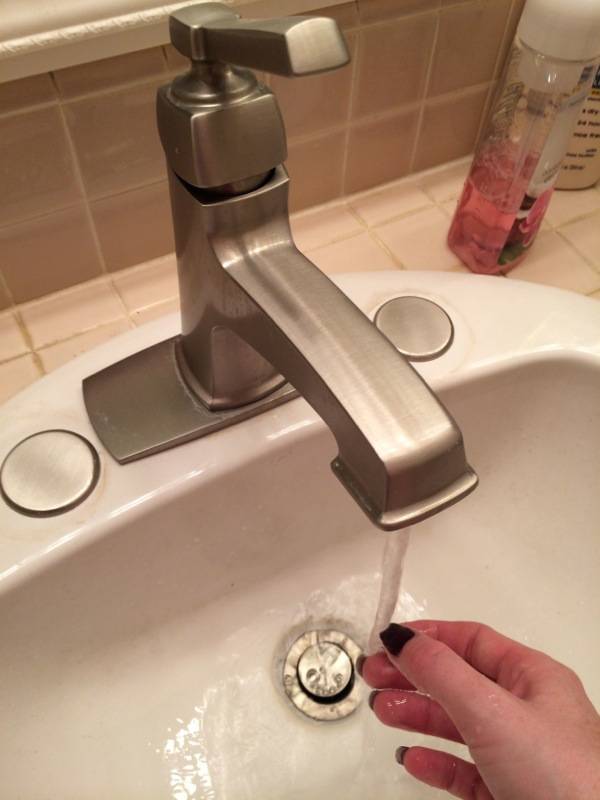
13 – Enjoy your new faucet!
If you encounter any problems when installing your faucet or you discover any plumbing issues, contact a professional plumber straight away before they get worse.
What features do you like about the Moen Boardwalk 1-Handle bathroom faucet in Spot Resist?
[wl_faceted_search]


I love the “chunkier” style of this! It makes me feel like I wouldn’t have to be delicate with it.
you make it look super easy, and it looks like a sturdy faucet, which is good.