
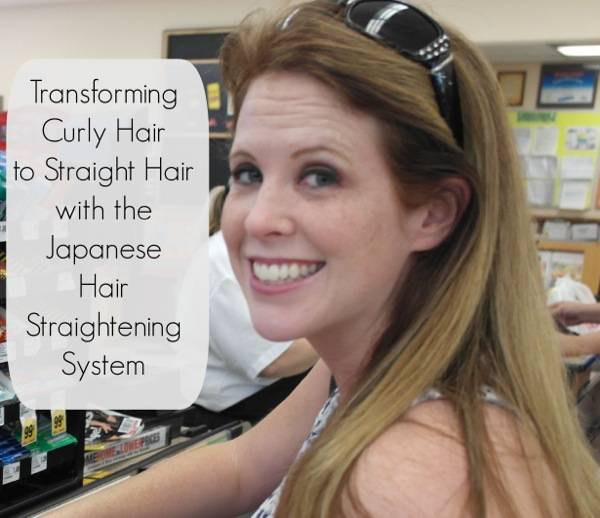
Transforming Curly Hair to Straight Hair with the Japanese Hair Straightening Treatment
Ever since I was a little girl, I’ve had curly, thick red hair. I remember brushing it when I was a kid and not figuring it out until I was in junior high that you shouldn’t just brush curly hair when it’s dry because then you get the frizz effect. That was when I started scrunching my hair and using a diffuser to dry it. Sometimes I would even use the hot rollers to get rid of some of the frizz and have a more curly, wavy look.

It was after I hit 30 that my hair started to be less curly and more frizzy. It was when my sister was visiting and offered to straighten my hair one day (the first time ever for me) and I fell in love with the way it looked! It took some time and patience, but I really loved the way it framed my face and I felt really beautiful.

When I was straightening my hair in the beginning, I didn’t mind taking the 45 minutes it took to blow dry my hair and then patiently straighten it with a flat iron. In fact, it was relaxing…at first. It was when I started working full-time from home and running kids to school and back that I started to run out of the energy and time it took to straighten my hair. Often times, I was happy just to get a shower in, put makeup on and change out of my sweat pants and chami! It was time for a change.
The first thing I tried was the California Smooth (Protein) Treatment. My hair stylist was super friendly and seemed very knowledgeable. She walked me through the steps and even let me take pictures (blog post to come). After she was done with my hair, it looked gorgeous! I wasn’t allowed to wash it for 72 hours or put it up in a hair scrunchy, clip or anything that would put a kink in it. After the waiting period, I washed it. I decided to let it air dry and was fairly disappointed when I woke up the next morning to frizzy, kinky hair. I don’t think she did the treatment wrong, I just don’t think it was strong enough for my hair. Plus, I was told that it wouldn’t straighten it all the way, but would make it easier to straighten and that it would dry faster. Both of these were true, but I was looking for a treatment that was a little more permanent.
That was when my friend introduced me to one of her friends at the salon that she worked with – Chelsea (she was amazing). When I went in for my initial consultation, I had already planned on having the Brazilian Blowout done. However, after talking to her and telling her that I straightened my hair most of the time except for when I didn’t have time to do it, we decided to go with the Japanese Hair Straightening Treatment (aka Thermal Reconditioning). So, what did I do as soon as I got home? That’s right, I googled it! I read articles, looked at images, talked to my friends and family, and ultimately made the decision to go for it!
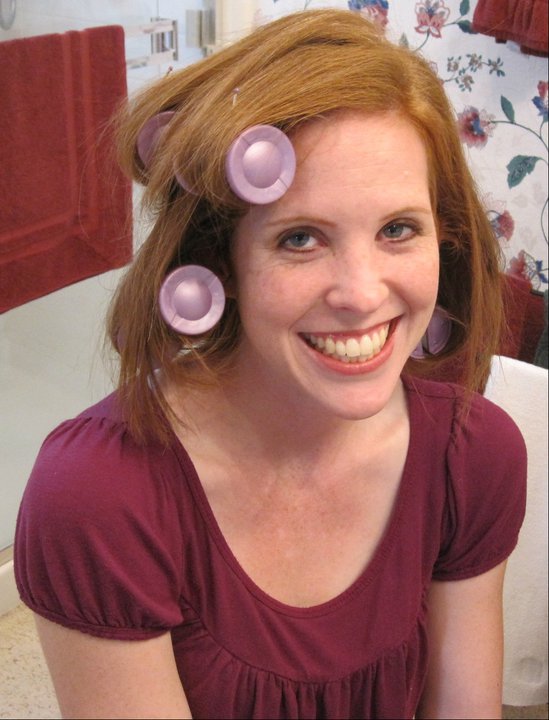
When I went in that morning, I hadn’t washed my hair or anything. It was all NAT-UR-AL. Yep – there were some kinks and even some frizz! I couldn’t wait to get started!
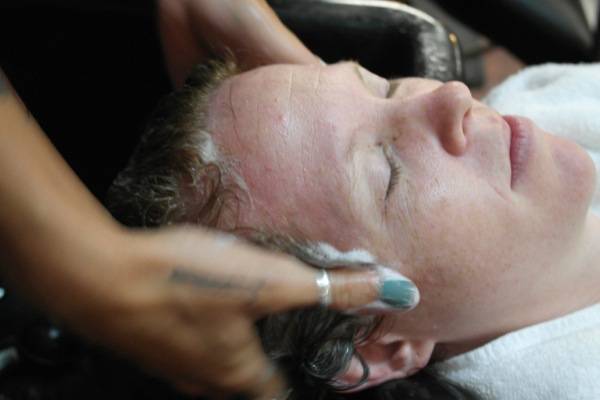
Step 1 – Wash Hair. The first step was to wash my hair and get it all nice and clean. The shampoo she used removed any impurities that were in my hair. The best organic shampoo on Amazon gives the same result. It was pretty relaxing, especially since I could prop my feet up in the chair.


Step 2 – Apply thermal reconstructive. After washing my hair, the stylist applied a thermal reconstructive to my hair. This sat on my hair for about 30 minutes. I had plenty to do though – both on my phone and my laptop.
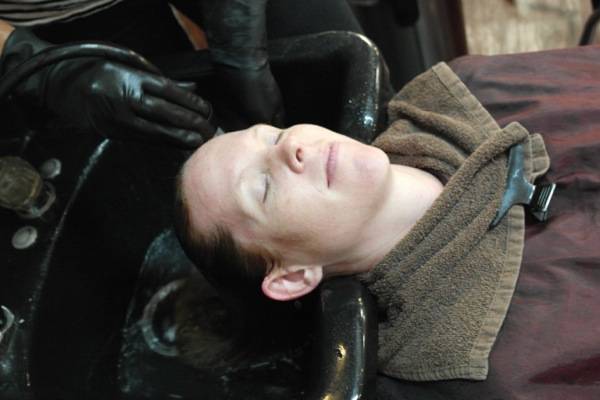
Step 3 – Rinse. The next step was to rinse the thermal reconstructive out of my hair. I was going to have my hair washed one more time before the day was over.

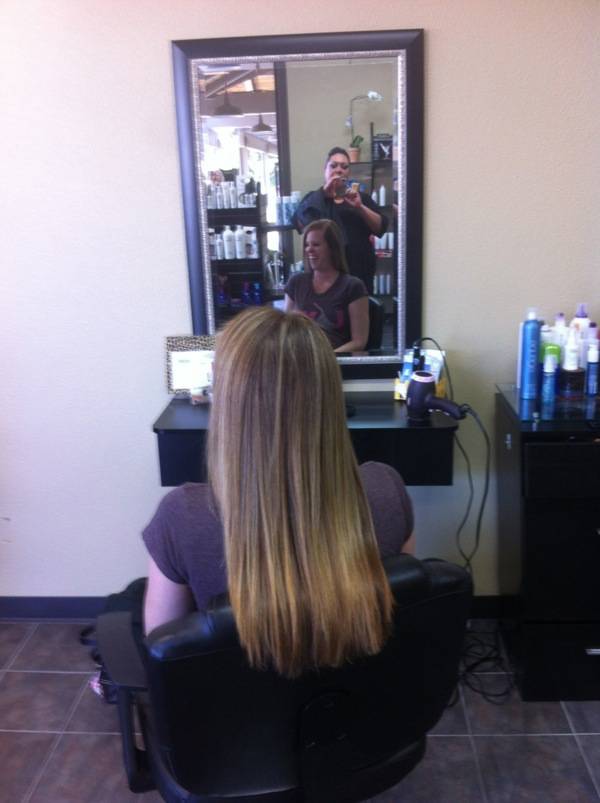
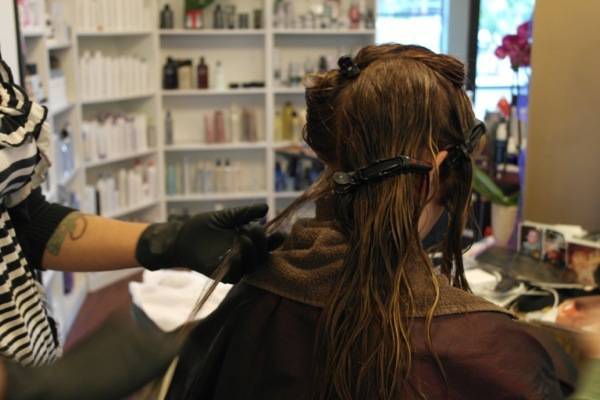
Step 4 – Blowdry and straighten fine sections. The next step was to blowdry my hair and straighten it using a flat iron. I felt like a princess with all the team members they had pitching in to get the job done. I definitely know where I’ll be going one day to get my wedding hair done – hee hee!
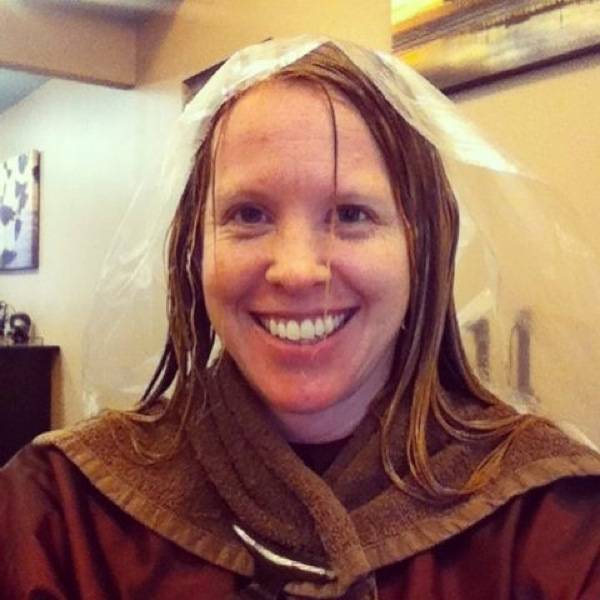
Step 5 – Apply stabilizer. The next step was to apply the stabilizer. For this step, I got to wear a fun little hat! Just kidding, it was plastic to help the roots absorb the product.
Step 6 – Rinse. Yep, time to rinse the hair again!
Step 7 – Condition.

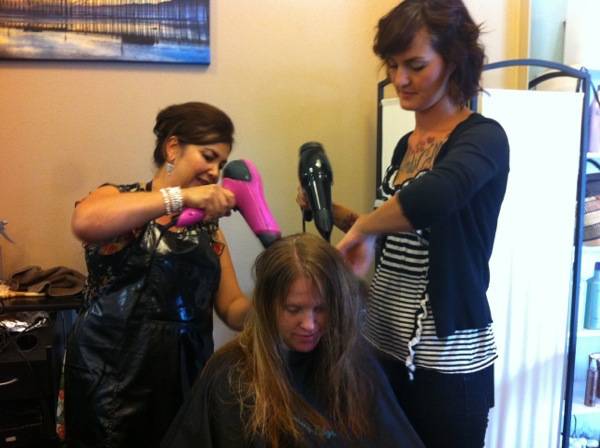

Step 8 – Blowdry. After rinsing and conditioning my hair, it was time to blowdry it. After blowdrying, the stylist parted my hair the way I usually wear and styled it. It looked gorgeous!


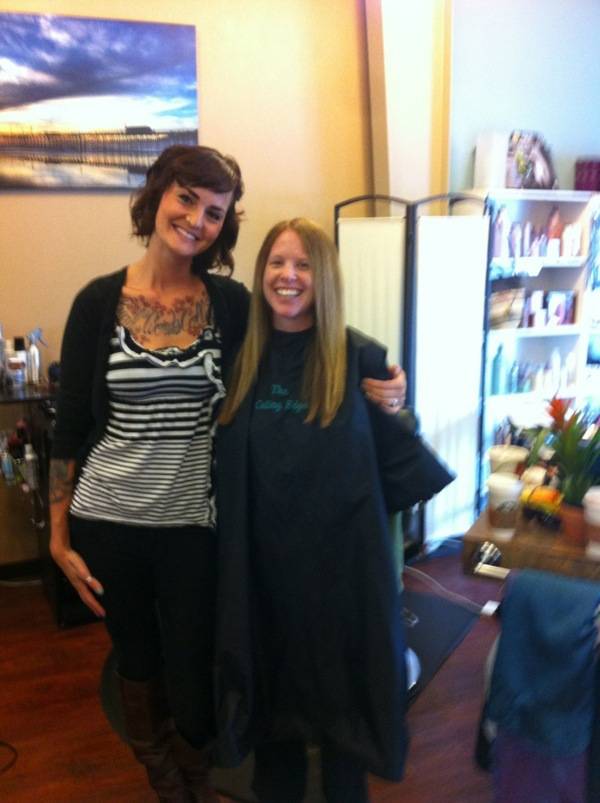
I was loving my hair! I have to admit that I was a little nervous about it not staying straight, but there was nothing to be nervous about. Even when I let my hair air dry, it was still straight. Pretty cool, right?

I was coached to not wash or get my hair for 48-78 hours. I chose to go the route of 78 hours. I also couldn’t put my hair back in a scrunchy or a clip during that time. I am loving my hair and highly recommend the Japanese Straightening System for anyone wanting to go more of the permanent route when it comes to straightening their hair.
[wl_faceted_search]


Shannon,
Love the “straight” hair. I am glad to say that I was there and witnessed the transformation and I love it. I loved (still do) your natural curly hair too though. Definitely need to try this Japanese Straightening system. Sounds pretty amazing! As always, miss you friend and hope you and your kids are doing great and everyone is happy…We definitely need to catch up SOON! I will send you my new information.
Take Care,. Your friend always,
Janel
Hey girlie! How are you doing? I love the straight hair too and this treatment has made it so much easier to manage. I totally recommend it to anyone wanting straight hair who doesn’t have the time to always flat iron it. 🙂
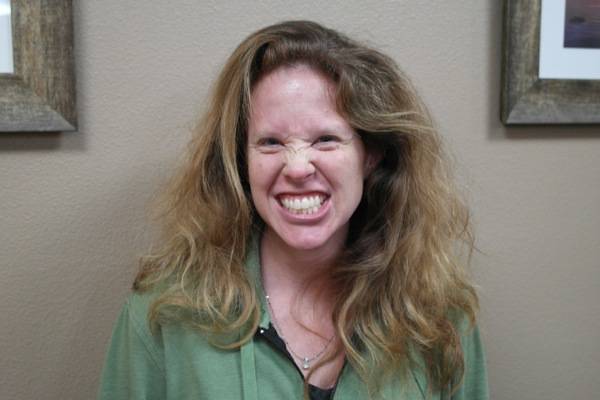
Wow! This really works the Straightening of your hair with the Japanese system. It did a really good job in making you hair look nice and smooth. Like your scrunched up face picture!
Thanks so much Julie! I was a little nervous about it at first since the last hair treatment I had didn’t straighten it like I thought, but it turned out amazing! I highly recommend it. 🙂
Happy that you love your hair!! It was a pleasure and I’m pleased we were able to get it done so quickly!
Chelsey – you did a great job! Thanks so much again for an amazing job! I am loving my straight hair! 🙂
My mom is a hairdresser and tried something similar on my daughters hair and it didn’t straighten we both have very curly hair. I keep telling myself I would like to try this but then I think the gray would show more too.
I really love it! She did an amazing job and my hair is super straight. I totally recommend it. 🙂 I am going back to the same hairstylist to have it trimmed and colored too. 🙂
You look great! I am the total opposite though, I have very straight, baby fine hair and so I make sure to use volumizers and to curl my hair everyday. I hate when my hair is straight. My husband is so sweet, since my hair is so baby fine it feels quite ‘airy” my husband calls it angel hair awww lol
You look great and I totally want to get your phone number!